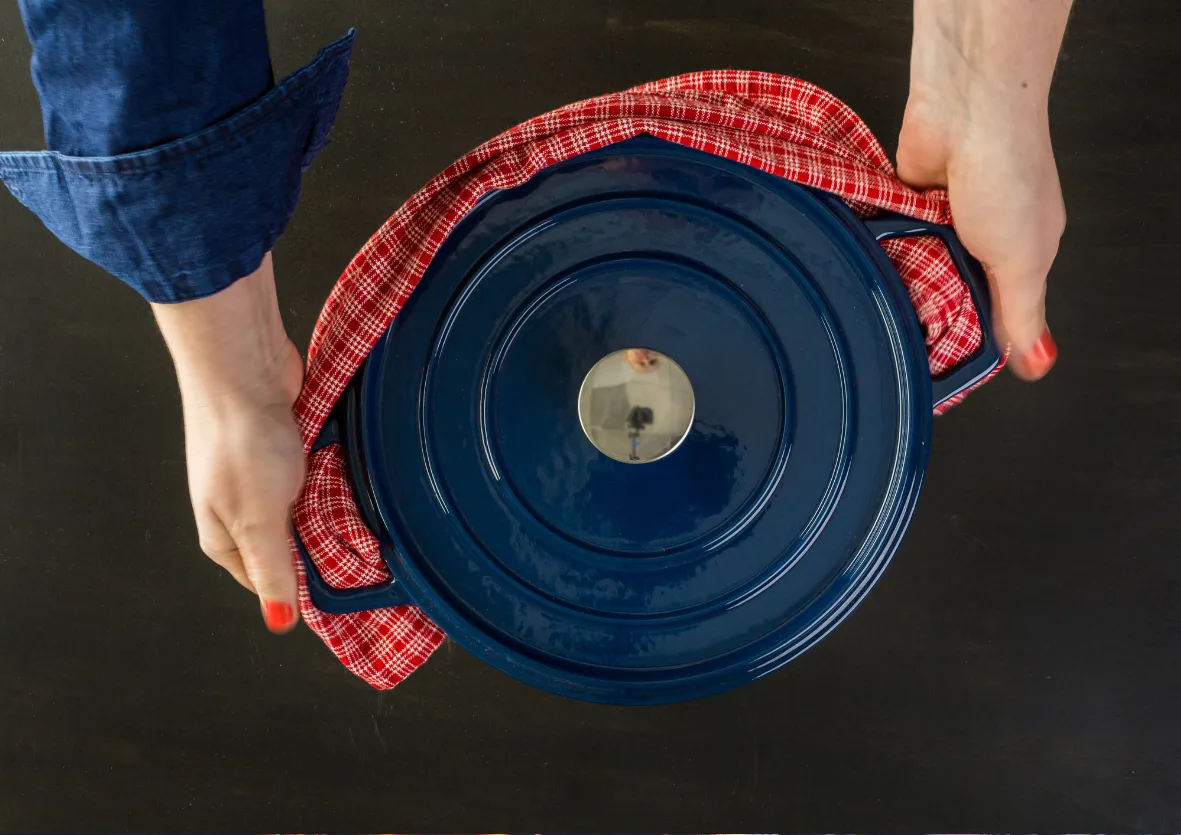
Ever stared at your Dutch oven after cooking and thought, “That mess is never coming off”? Yeah, me too.
The first time I tackled baked-on food in mine, I genuinely considered backing out mid-clean and pretending it didn’t exist. But don’t worry, you’re not alone, and it doesn’t have to be a nightmare.
Cleaning a Dutch oven can actually be quick, painless, and weirdly satisfying when you know what to do.
Let me walk you through a super-effective process that’ll leave your Dutch oven sparkling clean in just 30 minutes. Trust me, you’ll feel like a kitchen wizard by the end of it.
Why Clean a Dutch Oven Correctly?
Okay, let’s be real, Dutch ovens are not your regular pots and pans. They’re versatile, heavy-duty, and often come with a hefty price tag. So, unless you’re keen to ruin yours ASAP, cleaning it properly is non-negotiable.
Harsh scrubbing or using the wrong products can scratch the enamel or, worse, ruin your pot entirely.
Plus, leftover food and grease can affect the flavor of whatever culinary masterpiece you’re whipping up next (because no one wants cinnamon rolls that taste like last week’s chili).
What You’ll Need
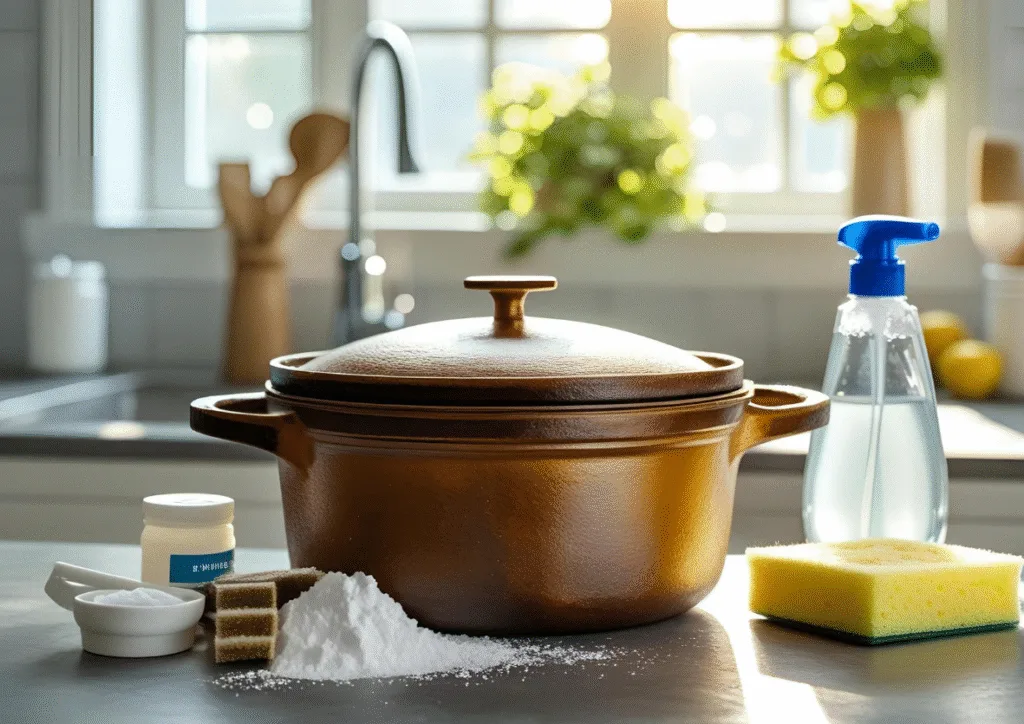
You don’t need a toolbox or magic wand to clean your Dutch oven, just a few basic supplies:
- Hot water (the hotter, the better).
- A gentle scrubber (think soft sponge, not a cheese grater for your pot).
- Baking soda (your best friend for stains).
- Dish soap (mild is key).
- Vinegar (for the tough, crusty spots).
- Wooden or silicone spatula (optional, but great for loosening gunk without damage).
Pro tip: If you’ve ever thought about investing in a non-abrasive scrubber, now’s the time. Trust me, it’s worth it.
Step-By-Step: Cleaning Your Dutch Oven in 30 Minutes
Step 1: Let It Cool Off
First things first, don’t you dare pour cold water into a hot Dutch oven. Shocking the enamel with a sudden temperature change can cause it to crack.
Let your Dutch oven cool down to room temp before you even think about cleaning it.
Step 2: Remove Any Leftovers
Grab a wooden or silicone spatula and scrape out any leftover food or grease. If it’s stubborn, don’t stress, you’ll tackle it in the next steps.
Step 3: Soak It
Fill your Dutch oven with hot water and add a squirt of dish soap. Let it soak for about 10–15 minutes. This loosens all the stuck-on bits and makes scrubbing easier.
Got a really gnarly mess? Add a tablespoon of baking soda to the water and watch it work its magic.
Step 4: Scrub Gently
Use your non-abrasive scrubber to clean the inside of the pot and the lid. Be thorough, but go easy, no one wants a scratched-up enamel surface.
If there’s still stubborn residue clinging on like it pays rent, don’t panic. Leave a paste made of baking soda and water on the area for 5 minutes, then scrub again.
Step 5: Rinse & Dry
Rinse your Dutch oven thoroughly with warm water until all soap is gone. Then, dry it immediately with a soft towel to prevent water spots or rust. (Because rust is literally public enemy #1 for cast iron.)
What About Stains or Stubborn Spots?
Let’s talk about the baked-on disasters that make you question every life choice leading up to this moment. You know the ones.
Solution #1: Vinegar Soak
Pour a mix of equal parts water and white vinegar into your pot. Heat it up (not boiling, just warm) and let it sit for 10 minutes. This breaks down the toughest stains, so you don’t have to fight them.
Solution #2: Baking Soda Scrub
Baking soda is like an exfoliator for your Dutch oven. Make a thick paste of baking soda and water, apply it to the stains, and scrub gently with a sponge.
Solution #3: Bar Keeper’s Friend (For Last-Resort Situations)
If everything else fails, grab Bar Keeper’s Friend. It’s designed for enamel cookware, but use it sparingly, it’s a bit abrasive.
Preventative Care Tips
Want to keep your Dutch oven looking brand-new for years? Here’s how you do it:
- Cook smart: Use parchment paper when baking sticky items like bread.
- Avoid metal utensils: Wooden or silicone is always better.
- Skip the dishwasher: I know, I know, it’s tempting. But trust me, hand-washing is the way to go.
- Store it with care: Make sure it’s dry before storing, and use soft cloths between the lid and pot to avoid chips or scratches.
This is an alternative way you can try.
Conclusion
And there you have it, a sparkling clean Dutch oven in 30 minutes or less. It’s not rocket science, just a little TLC and a few tricks to tackle even the toughest cooking messes.
Plus, isn’t it so much better cleaning it now than putting it off until next week? (Spoiler: Yes. Yes, it is.)
So, grab your scrubber, put on some good music, and get to work. Your Dutch oven deserves love, and trust me, your cooking will taste better for it.
Happy cleaning! 😊
Let me know if you spot any remaining adjustments!