A few years ago, I didn’t even know what a cold frame was.
I just thought once the frost hit, that was the end of my garden. Turns out, I was wrong.
Cold frames have become one of my favorite little gardening tricks. They’re low-effort, budget-friendly, and they actually work.
If you’re like me, just trying to get a bit more life out of your plants, these 17 ideas might be exactly what you need this season.
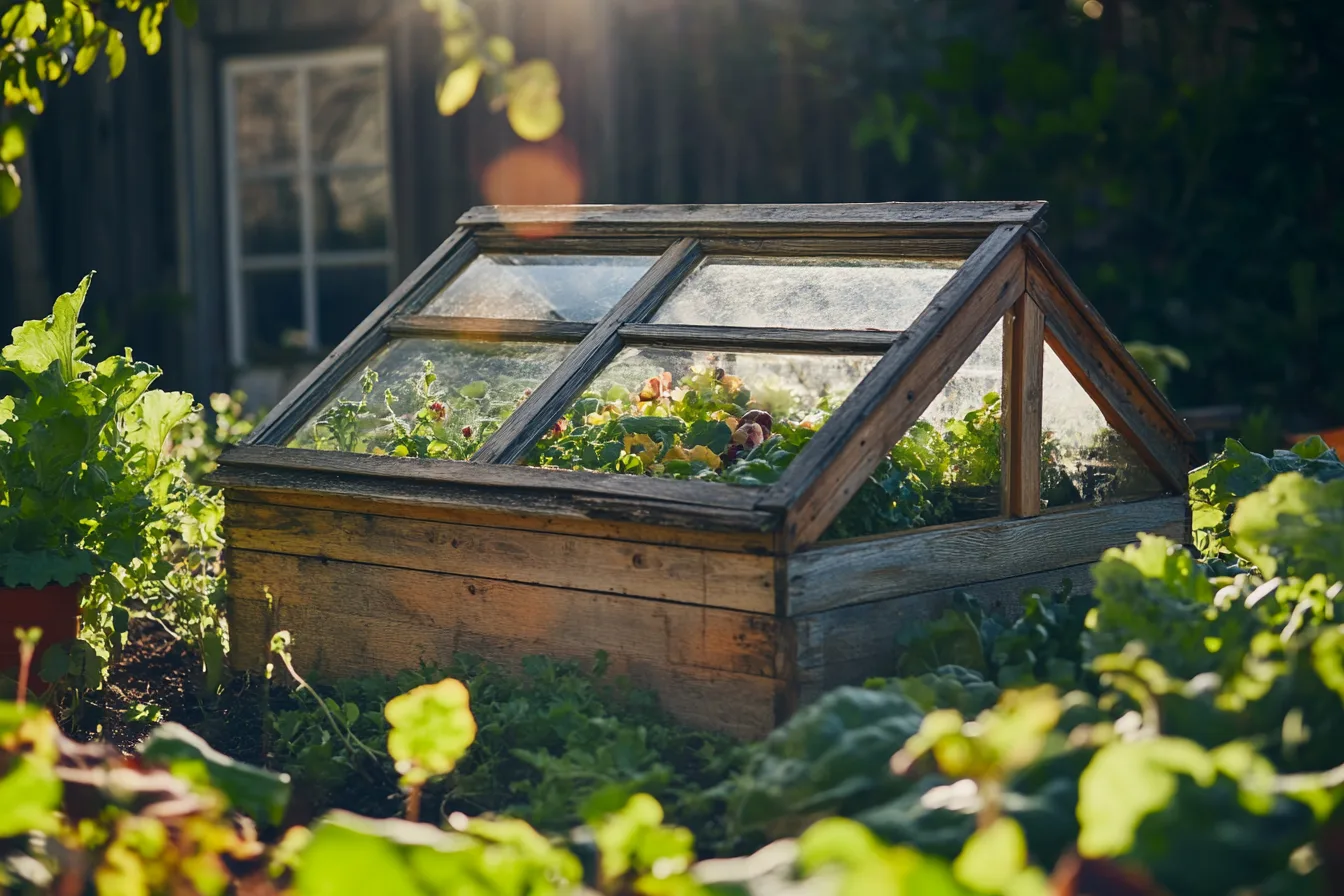
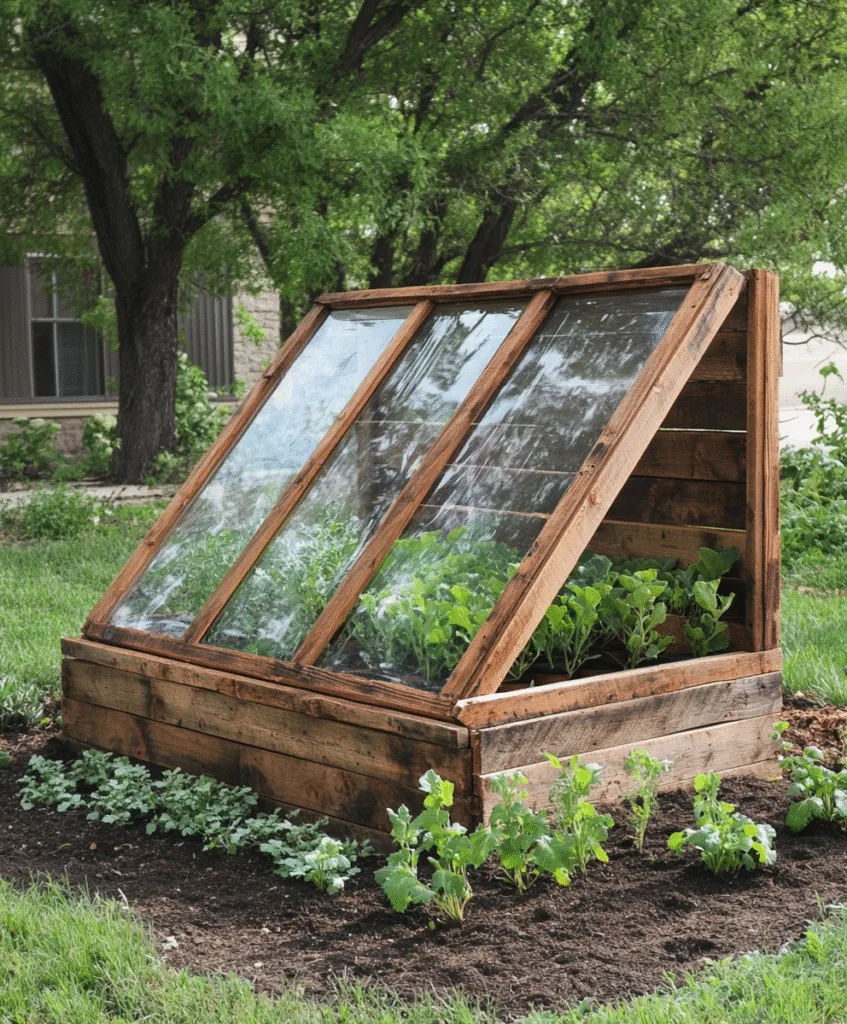
1. Repurpose Old Windows Into DIY Cold Frames
I had this cracked old window in my garage. I almost tossed it, but then a neighbor told me it could work as a cold frame lid. Game changer.
I grabbed some leftover boards, screwed together a rectangle, and hinged the window on top. Done. It wasn’t pretty, but it worked like magic.
The sunlight came through the glass and warmed up the little space inside. My lettuce lasted weeks longer than I expected.
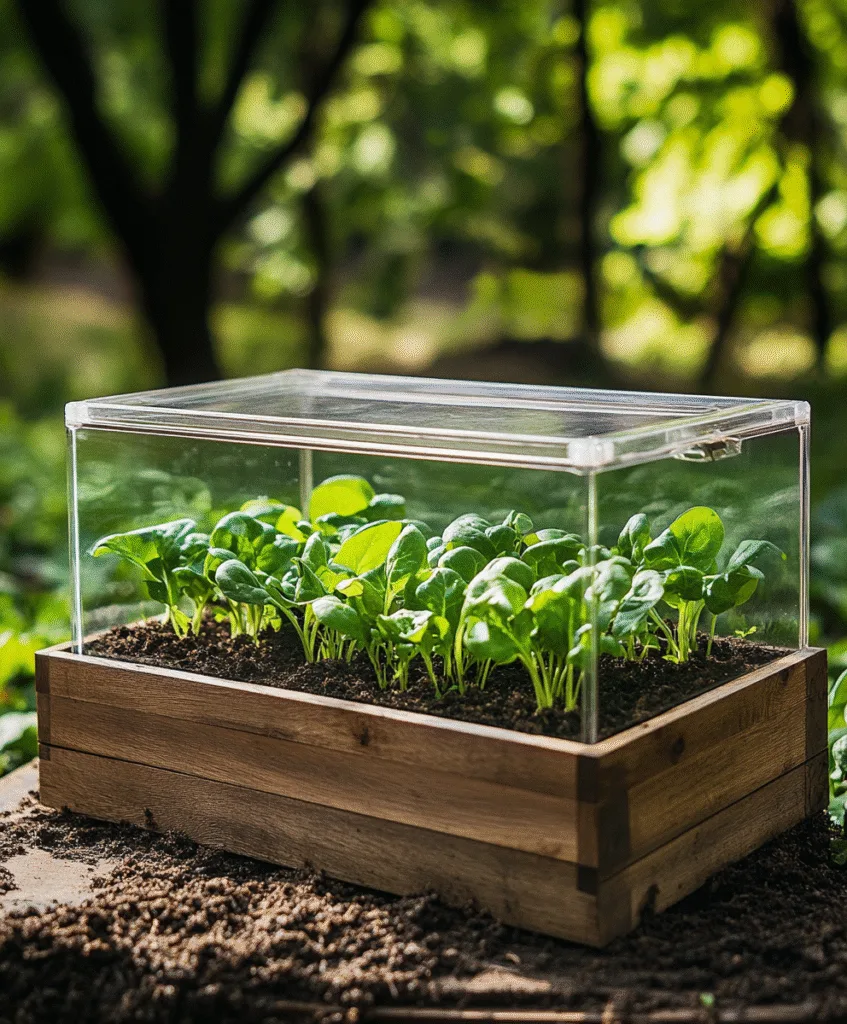
2. Start Early Greens in a Mini Frame
Spinach and arugula are two of my cold-weather MVPs. I start them early, way before the average gardener does, and they always deliver.
All you need is a short, clear bin or box with a lid. I cut out the bottom of mine and flipped it upside down over the soil. Nothing fancy.
It traps just enough warmth to get those greens going without needing any electricity or drama. Perfect for small spaces or raised beds.
3. Use Straw Bales for the Sides
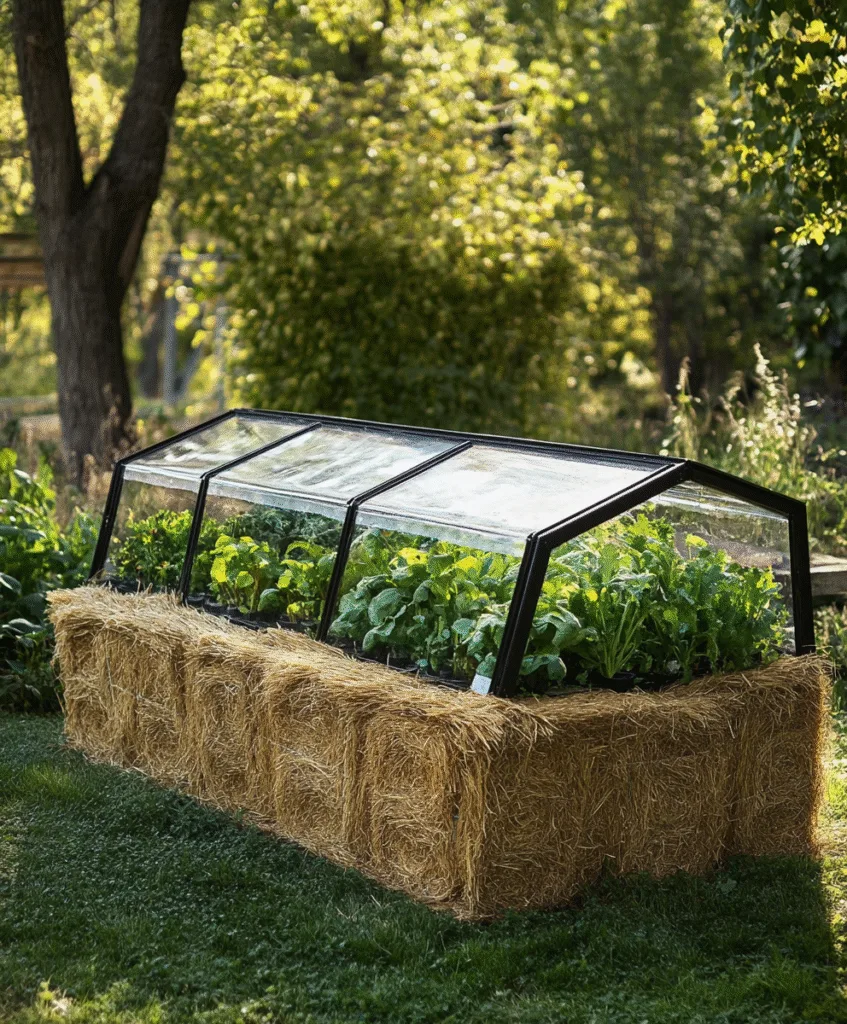
Last fall, I didn’t feel like building anything. So I stacked up four straw bales in a rectangle and laid an old glass pane on top. That was it.
The bales kept everything insulated, and the glass held in the heat. It looked rustic, but honestly, I kind of loved the vibe.
When the season ended, I pulled the bales apart and used the straw as mulch around my trees. Zero waste, and no tools required.
4. Add a Touch of Heat With Dark Stones
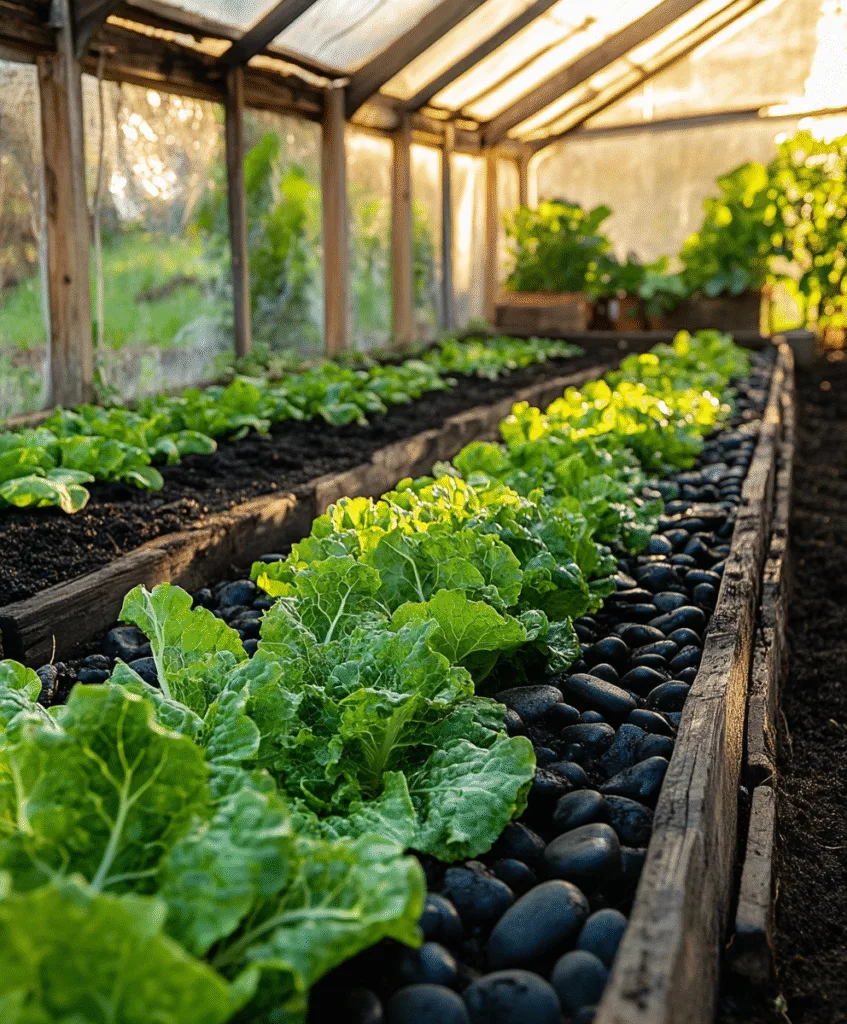
Here’s a sneaky trick I picked up, put a few dark stones or bricks inside the cold frame. I didn’t think it would do much. I was wrong.
Those stones soak up sun during the day and slowly release heat at night. It’s just enough to keep the chill off your greens.
If you’ve got an old patio brick or black paver lying around, try it. It’s the cheapest heater you’ll ever use.
5. Go Portable With Plastic Storage Totes
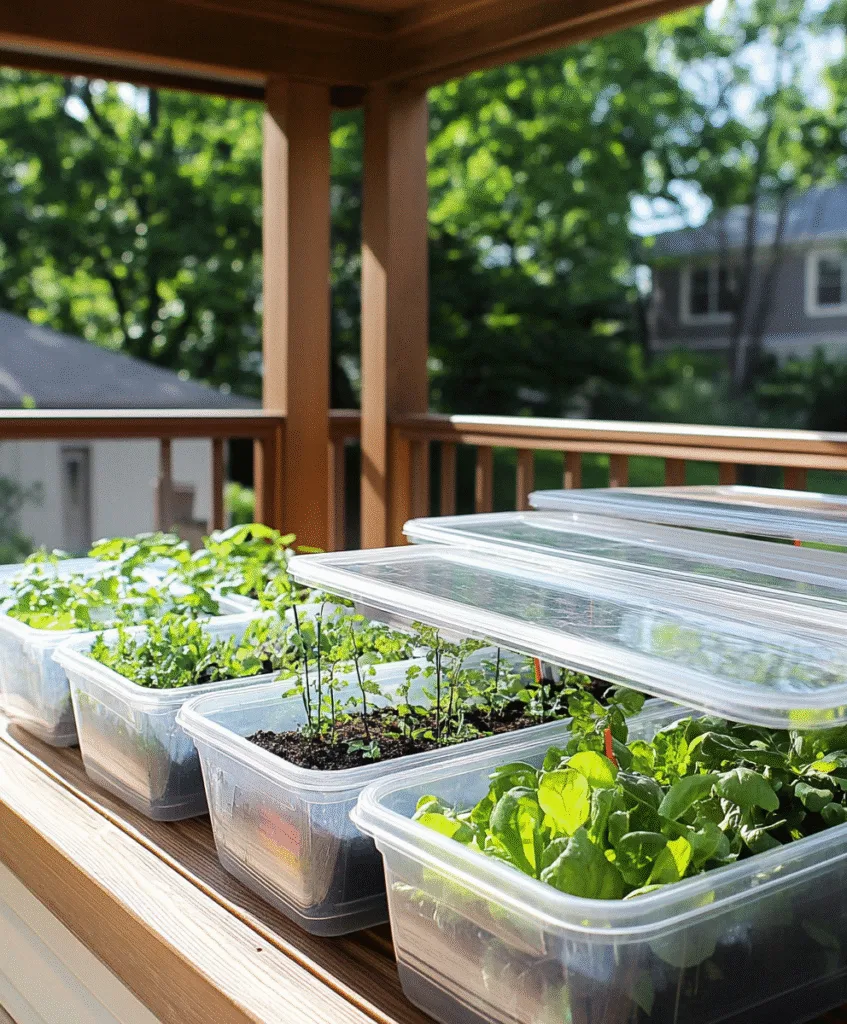
One of my favorite hacks? Those big, clear plastic bins from the discount store. The kind meant for sweaters or Christmas decorations.
I drill a few holes for air, pop the lid on, and set it over my seedlings. It’s lightweight, see-through, and easy to move around the yard.
When I’m done, I clean them out and store my garden tools in them. Honestly, they pull double-duty all year round.
6. Double Up for Extra Cold Nights
There were a few nights when frost really came out of nowhere. I panicked and threw an extra layer of plastic over my cold frame, and it worked.
Now, I plan for it. I keep an old shower curtain or frost cloth handy just in case. On cold nights, I toss it over the top like a blanket.
The layers keep everything from freezing without needing anything fancy. It’s like tucking your plants in for the night.
7. Tuck in Herbs Near the House Wall
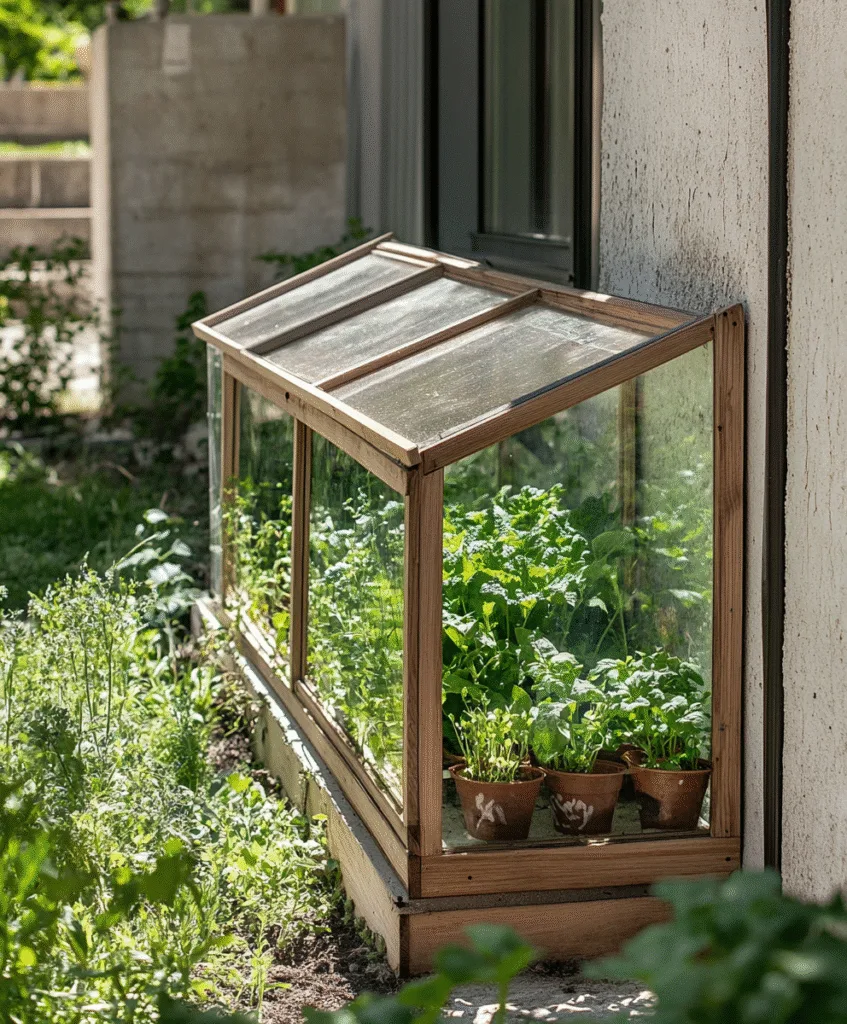
One year I stuck a little cold frame right up against the south wall of my house, just wide enough for some herbs. Game changer.
That wall held heat during the day and protected the plants from wind. My parsley and cilantro lasted well into December.
It was also so convenient. Just a few steps from the kitchen, and I was snipping herbs while wearing slippers. Cozy and productive.
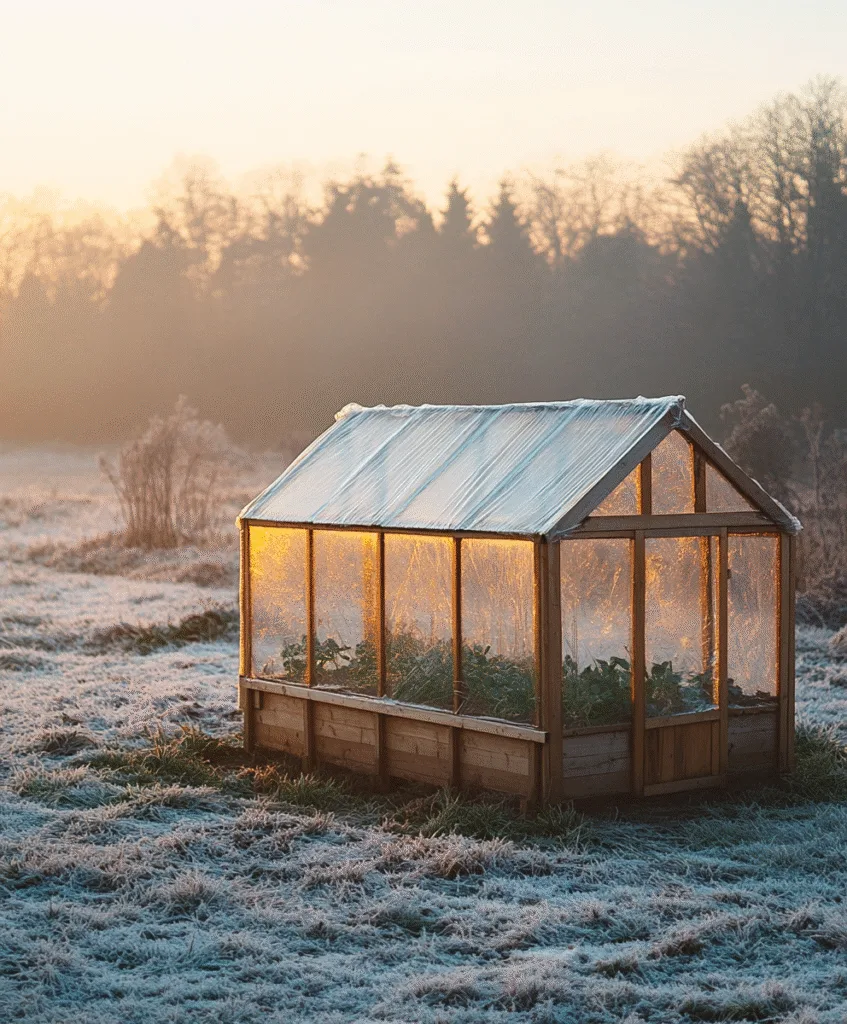
8. Turn Raised Beds Into Cold Frames

I already had raised beds, so I figured, why not use them? I added a couple of hoops and stretched some clear plastic over the top.
It was simple. The heat stayed in, the frost stayed out, and my carrots didn’t bolt. It looked a little like a DIY greenhouse.
If you’ve already got beds, this is the easiest way to squeeze more growing time without starting from scratch.
9. Flip an Old Drawer Into a Mini Cold Frame
I had this old wooden drawer from a broken dresser sitting in the garage. I flipped it on its back, added a clear lid, and boom—cold frame.
The shallow sides were perfect for low-growing greens like baby spinach and mustard. No extra cutting or building needed.
If you’ve got furniture scraps lying around, try this. You’ll be surprised what you can grow in such a small space.
10. Use a Storm Door Flat on the Ground
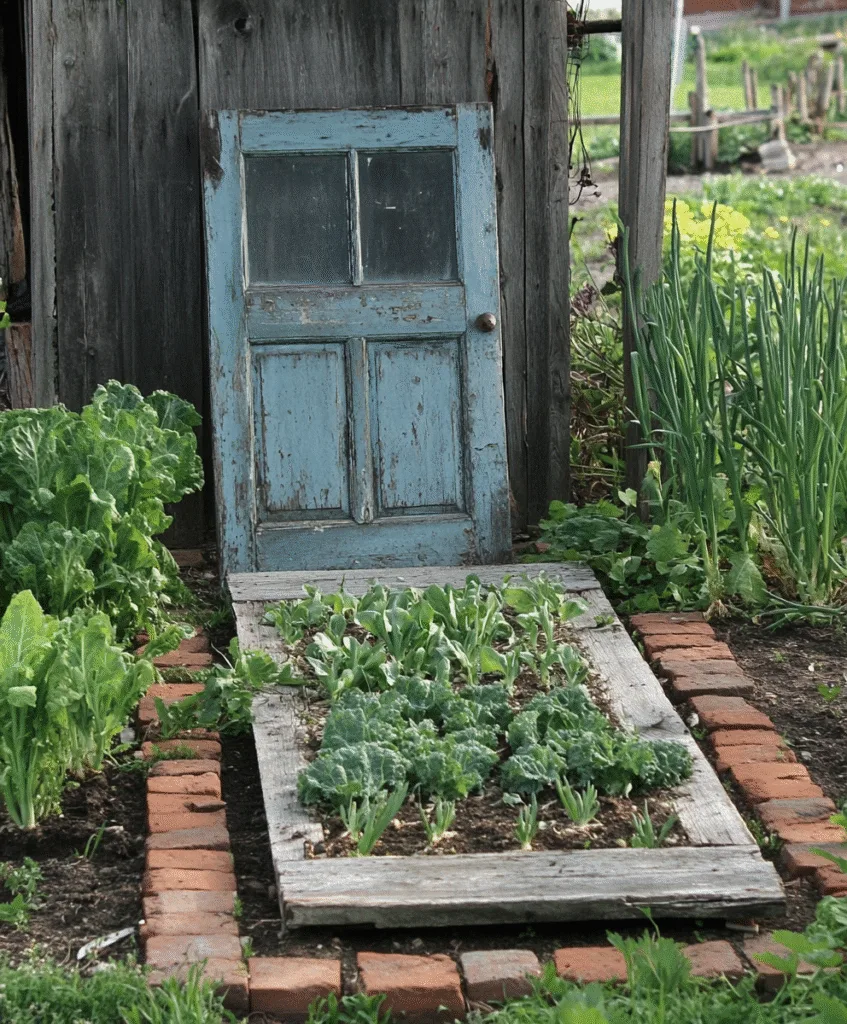
When we replaced our storm door, I held onto the old one just in case. Turns out it makes a perfect cold frame top.
I laid it directly over some bricks and tucked a few kale and green onion plants underneath. They kept growing even when the nights got frosty.
You don’t have to attach hinges or make it permanent. Just lift it when it’s warm and drop it back down at night.
11. Add Recycled Bubble Wrap for Insulation
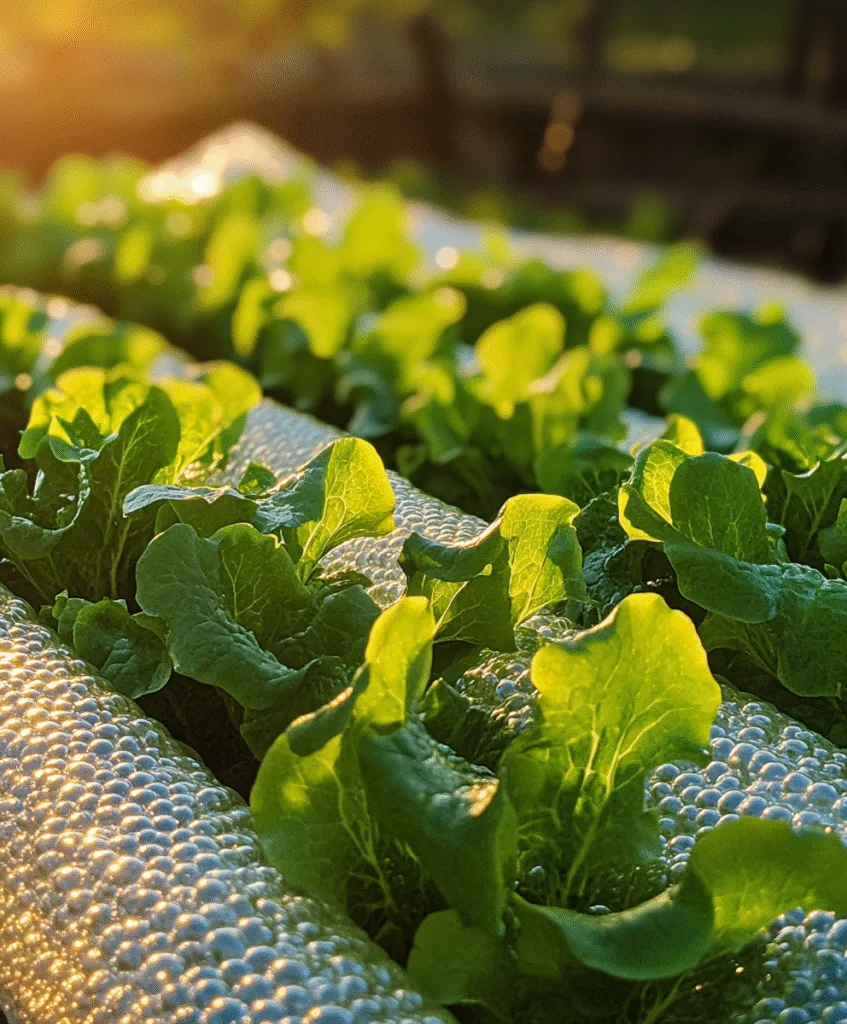
One winter, I wrapped the inside of my cold frame lid with bubble wrap from a package I’d received. It was a last-minute idea.
That bubble wrap added just enough insulation to keep my lettuce from getting zapped by an unexpected freeze.
Now I save bubble wrap all year. If you’ve got any lying around, tape it inside the lid. It helps trap heat like a charm.
12. Make a Folding Cold Frame With Hinges
I once made a foldable cold frame from scrap wood and some cabinet hinges. It folds flat when not in use and pops open when I need it.
This setup is great for small spaces or balconies because you can pack it away easily once the weather warms up.
You don’t need to be a pro builder—just a few screws, a saw, and a steady hand. Took me one afternoon.
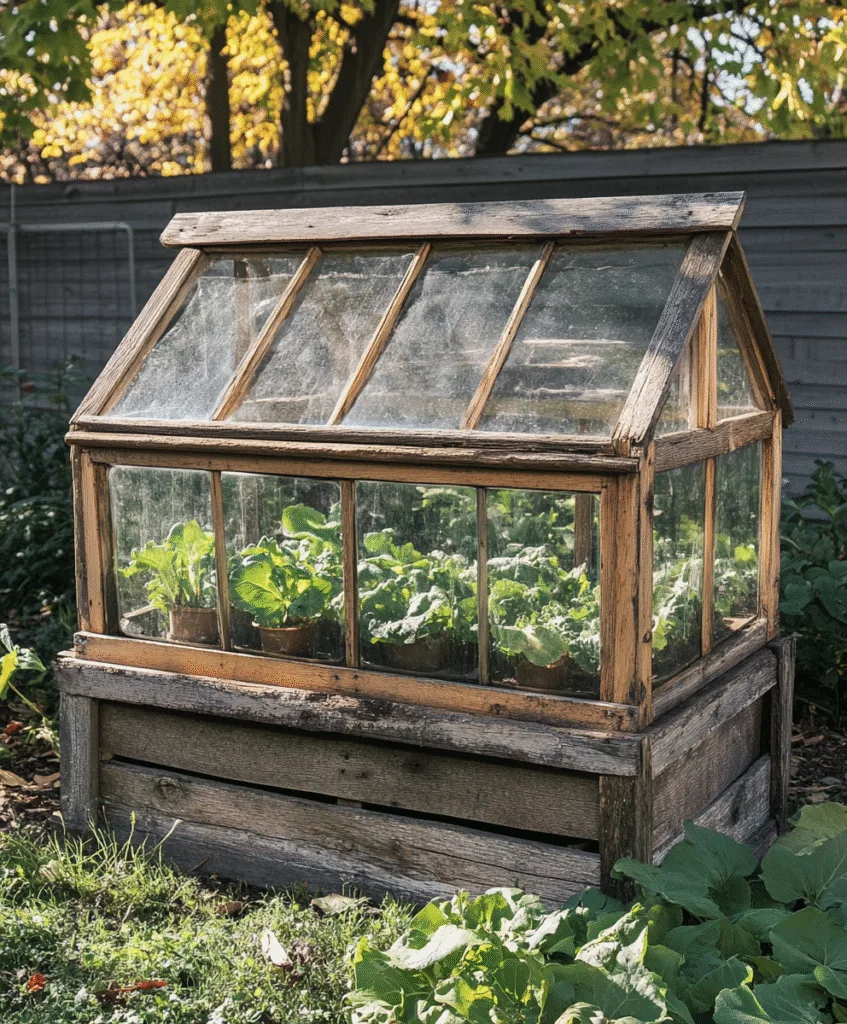
13. Try a Cold Frame Made From Pallet Wood
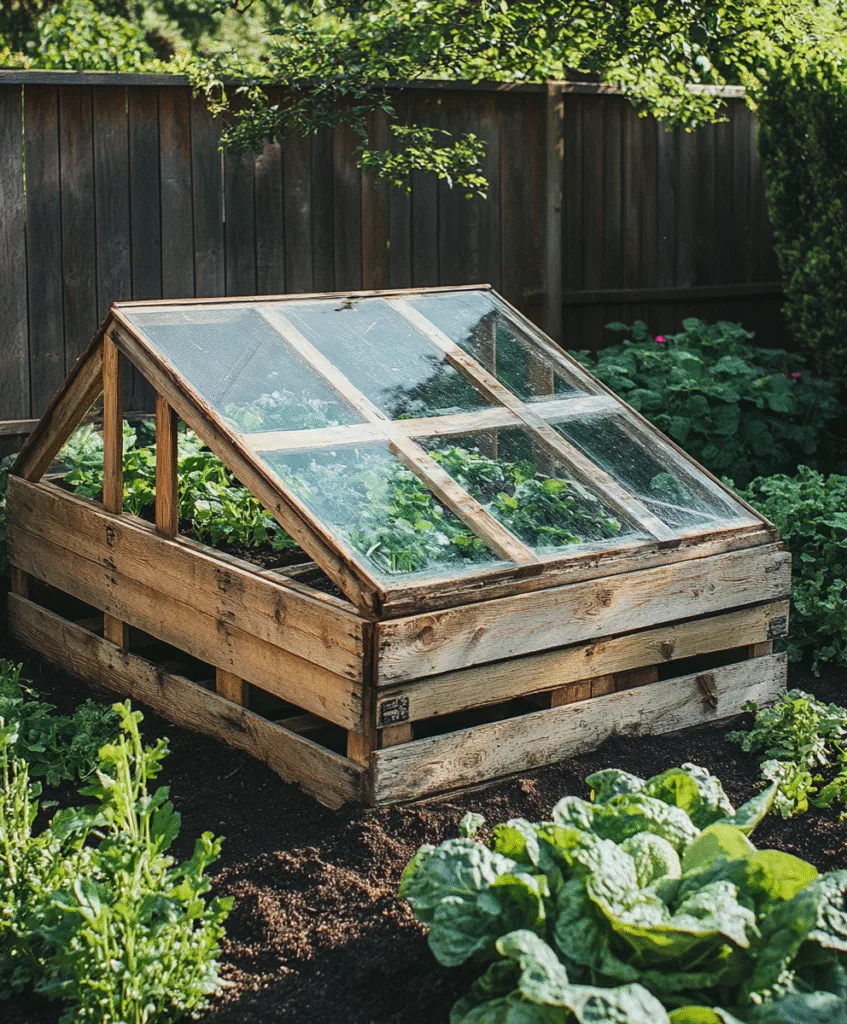
I always have a pallet or two lying around (thanks to online shopping and deliveries). So I used one to build a cold frame base.
Just take the boards apart and nail them into a box shape. Add a clear top, and you’ve got a rustic, no-cost setup.
Pallet wood might look rough, but it gets the job done—and that weathered look kinda grows on you after a while.
14. Create a Rolling Cold Frame With Wheels
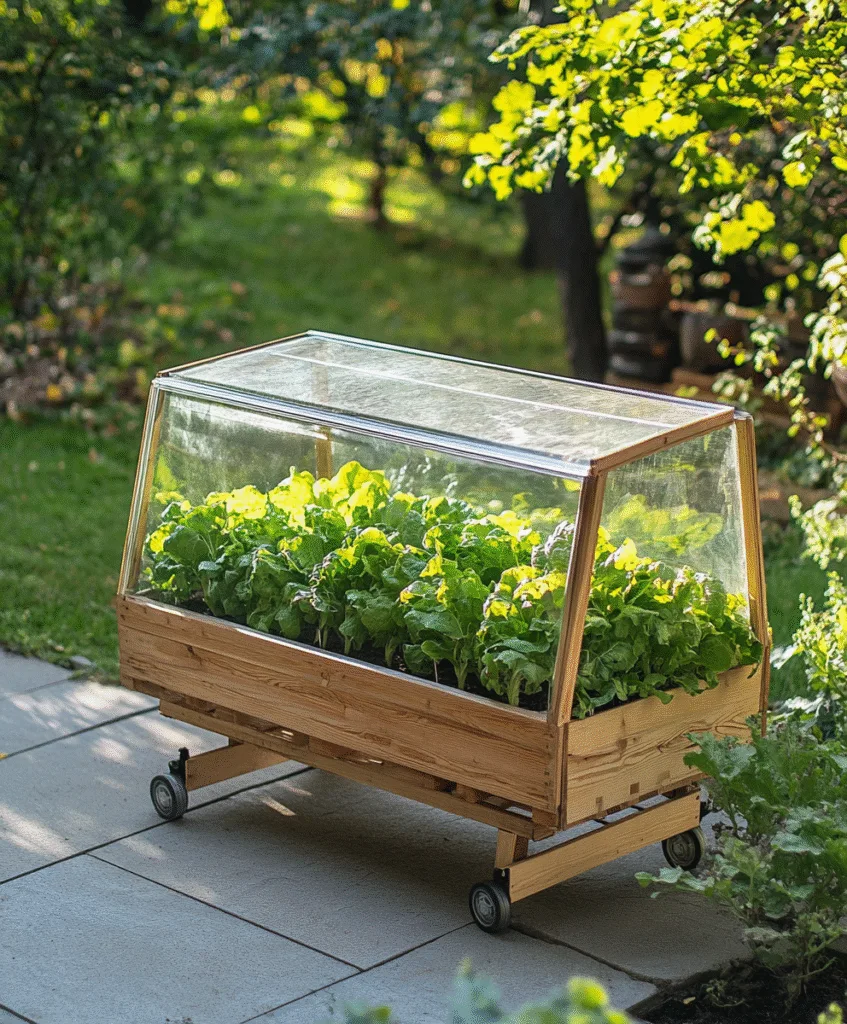
I got tired of dragging my cold frame across the yard, so I added small casters to the bottom. Best decision ever.
Now I can move it easily to follow the sun or shift it away from a shaded spot. Way less hassle on chilly mornings.
You can find cheap caster wheels online or at hardware stores. Screw them in, and your frame becomes portable in minutes.
15. Use a Raised Plastic Lid From a Storage Bin

One year, I cracked the base of a big plastic storage bin but the lid was still good—so I flipped it into a cold frame topper.
I just set it over a short brick or wood frame. It curved slightly, which actually helped shed rainwater better than a flat top.
If you’ve got a bin lid that arches a little, try it out. Even a small dome shape helps keep water from pooling.
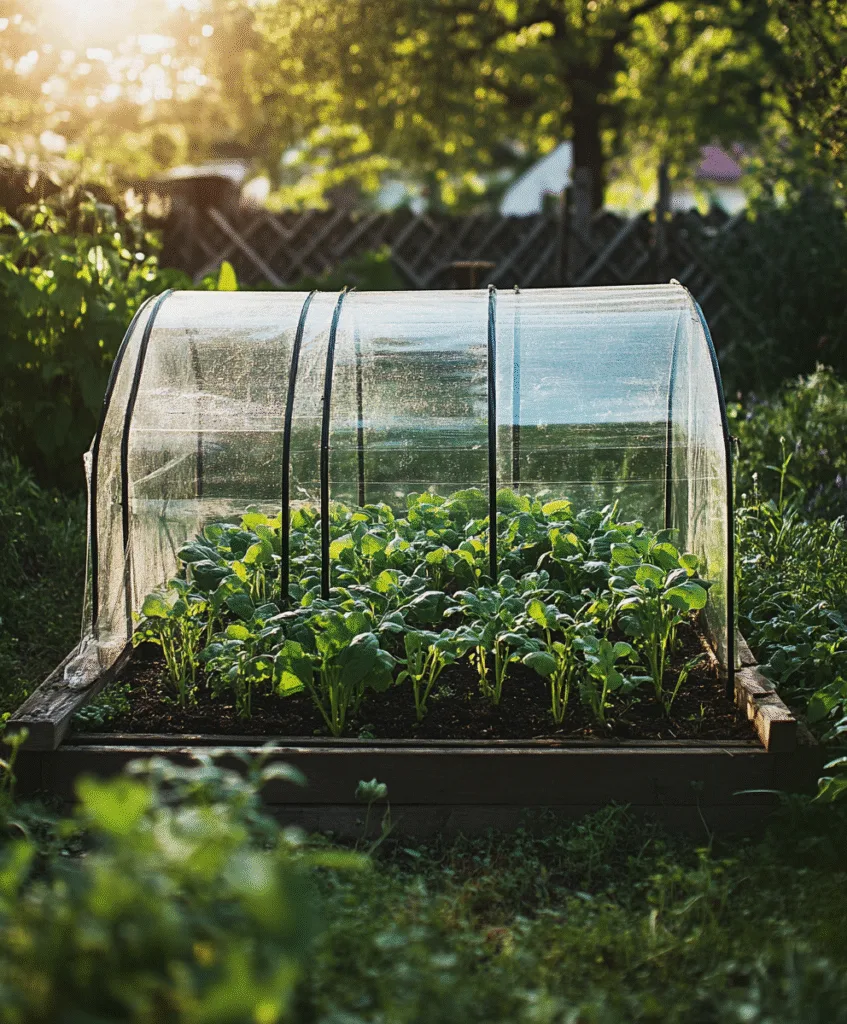
16. Make a Quick Hoop Frame With PVC and Sheeting
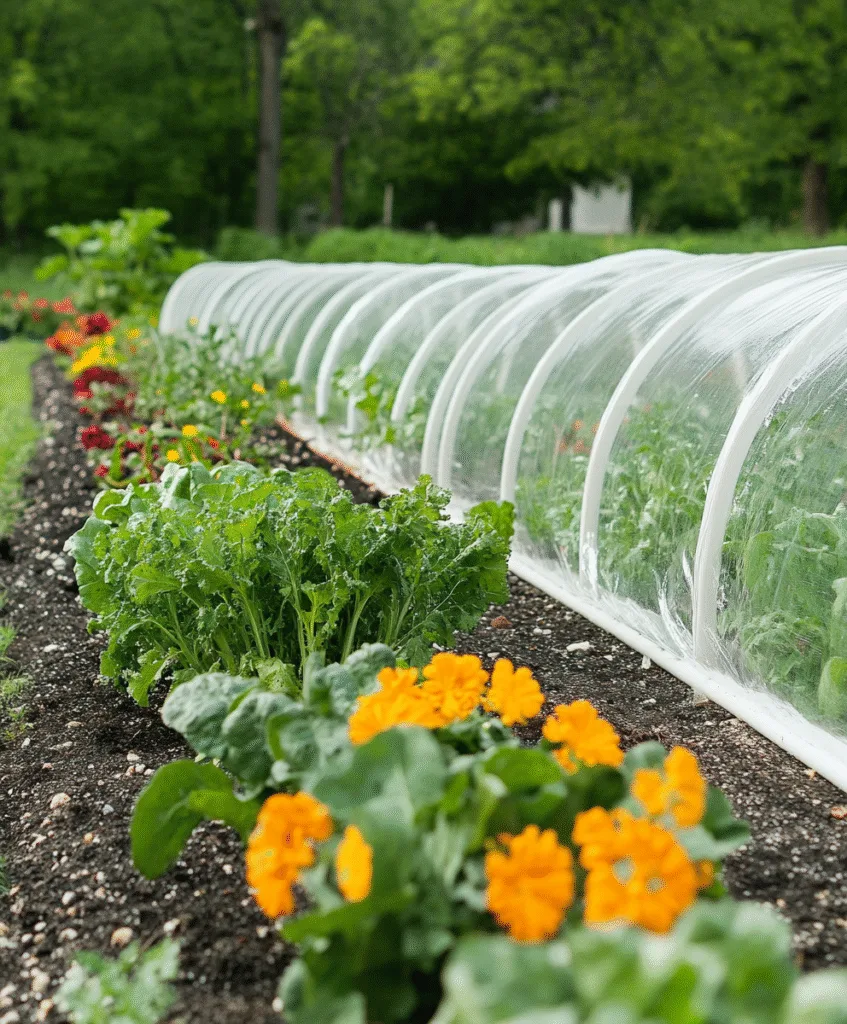
I picked up a few PVC pipes and bent them into hoops over my raised bed. Then I clipped plastic sheeting over the top.
This makes a tunnel-style cold frame that’s great for taller crops like chard or young cabbage. Plus, it looks tidy and holds up to wind.
It’s one of my go-to setups now. You can pull the sheeting aside during the day and close it at night. Super flexible.
17. Place Cold Frames Over Soil to Warm It Early
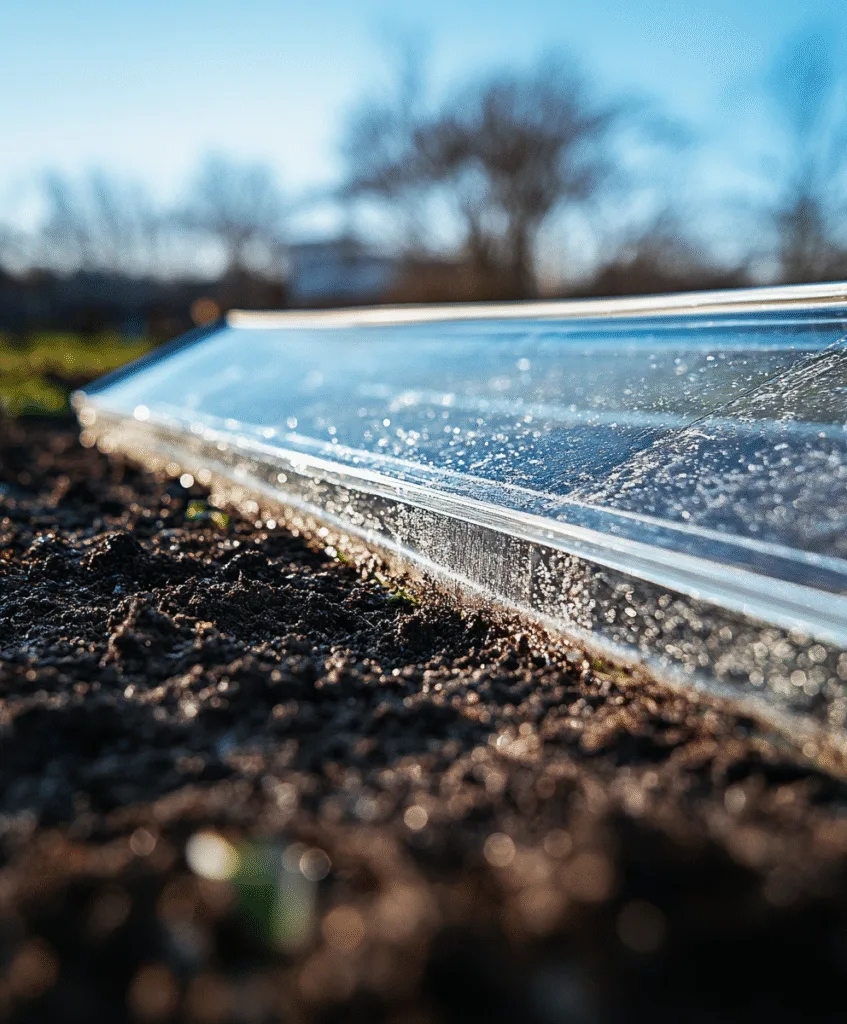
This one’s a sneaky trick I love: set your cold frame on a garden bed a couple of weeks before planting.
The sun warms the soil faster under the frame, and it’s ready for seeds way earlier than the rest of the yard.
I’ve started carrots and peas in late winter just by preheating the soil like this. It feels like cheating—but in a good way.
Conclusion
Cold frames helped me go from “guess it’s over” to “still growing” when the weather turned. You don’t need to be an expert or spend a lot of money.
A few household scraps, some creative thinking, and a bit of effort, that’s it.
If you’ve ever wished you could stretch your garden just a little longer, I promise you, it’s totally doable.
Try just one of these this season. You’ll be glad you did.