Have you ever looked at a tiny toadstool or a crooked twig and thought, “This belongs in a fairy tale”? Because, SAME.
I got hooked on fairy gardens after stumbling across a miniature arched bridge in a garden shop, next thing I knew, I had moss in my cart and glitter on my face.
Fairy gardens are the perfect little escape when you want a dose of magic in your everyday space.
Whether it’s a planter by your front porch or a secret nook in your backyard, creating one is like stepping into your very own storybook.
They’re fun, budget-friendly, and a great way to get creative with natural (and not-so-natural) materials. Ready to sprinkle some fairy dust?
Why Fairy Gardens Are Pure Magic 🧚♀️
Fairy gardens aren’t just adorable, they’re mood-lifting, creativity-sparking, and surprisingly therapeutic. Trust me, once you build your first one, it’s impossible to stop.
Here’s why people (myself included!) fall in love with fairy gardens:
- Miniature wonderlands feel like portals to childhood nostalgia. Think tree stumps turned into cottages and bottle caps turned into fairy dishes.
- They fit anywhere. Small patio? A flower pot will do. Huge yard? Build a whole enchanted forest!
- It’s a mindful hobby. Decorating, planting, and rearranging tiny furniture is incredibly relaxing.
- You can upcycle like a pro. Old keys, bottle caps, broken pottery, all can be turned into fairy treasures.
1. Fairy Garden Pathways
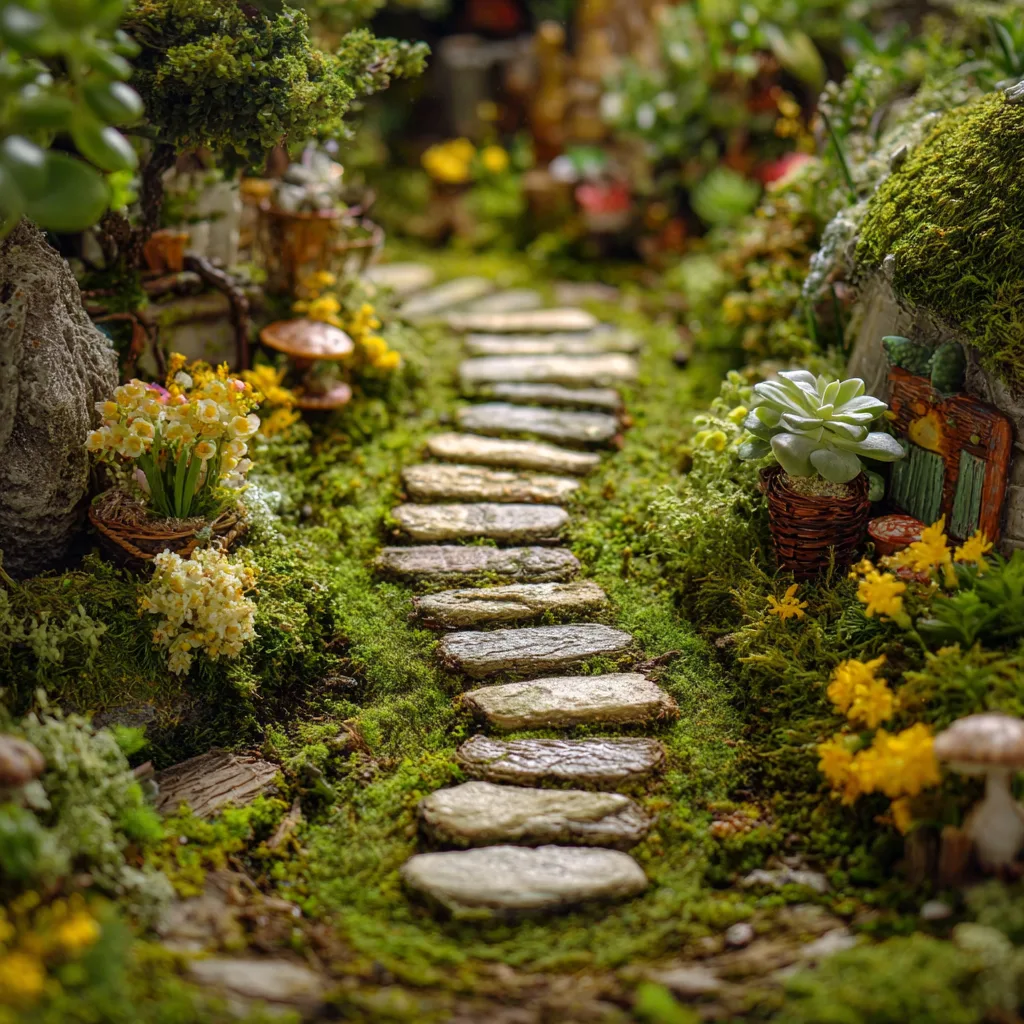
There’s just something about a winding path that leads to who-knows-where.
In my first fairy garden, I made a pebble path out of crushed shells and flat marbles, it instantly gave it structure and made it feel like a real little village.
Design Tips:
- Use crushed gravel, pebbles, or tiny wood slices for texture and scale.
- Outline the path with moss or mini picket fences to define it.
- Try mosaic-style patterns using colorful beads or tile shards for a magical twist.
Bold tip: A curvy path feels more whimsical than a straight one.
2. Stone Fairy Circles
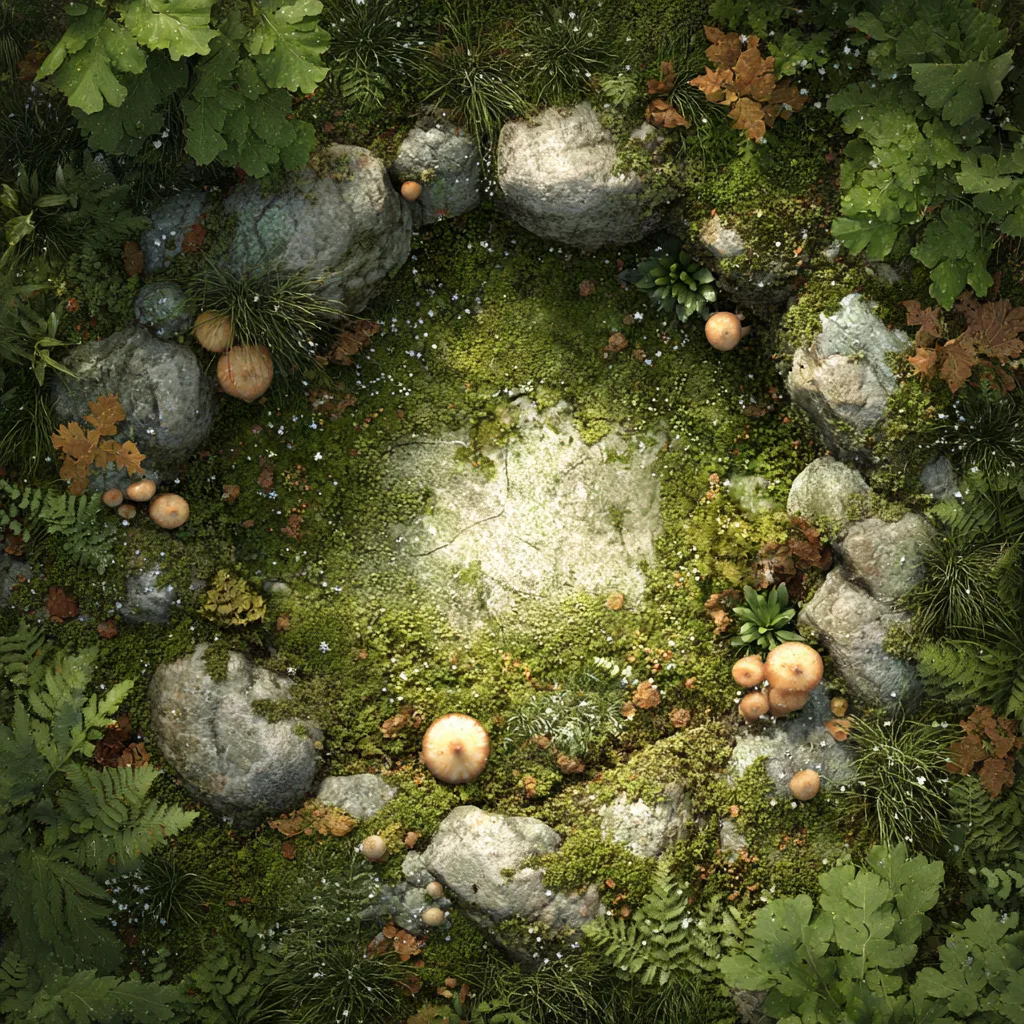
Fairy circles? Total show-stopper. These little rings of flat stones or mushrooms are said to be places where fairies gather and dance at night. (Yes, I totally check mine for tiny footprints. Don’t judge.)
Design Tips:
- Use flat river rocks, buttons, or coins to form the ring.
- Add tiny mushrooms (real or faux) around the edge for forest vibes.
- Place your fairy circle under a bush or mini tree for mystery.
Bold tip: Keep it off-center, it adds intrigue and makes it feel secret.
3. Mini Fairy Swings
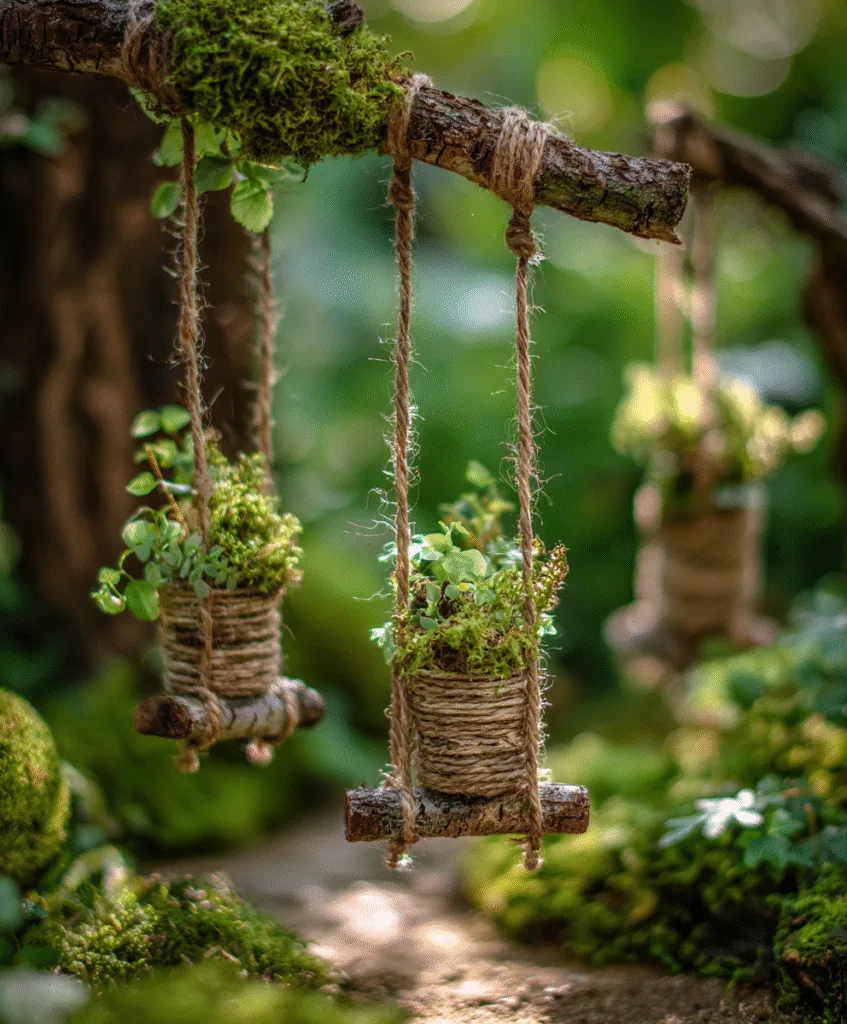
What’s cuter than a swing hanging from a twiggy tree? NOTHING. I made one from twine, a craft stick, and some acorn tops, and now my fairy garden feels alive, like the fairies are just out of sight.
Build Tips:
- Use natural string or jute and a flat stone or small bark slab as the seat.
- Hang it from a real branch or DIY archway using twigs or skewers.
- Add beads or dried flowers for extra flair.
Bold tip: Balance is key, make sure it hangs straight so your fairy doesn’t fall off!
4. Mushroom Stools & Benches
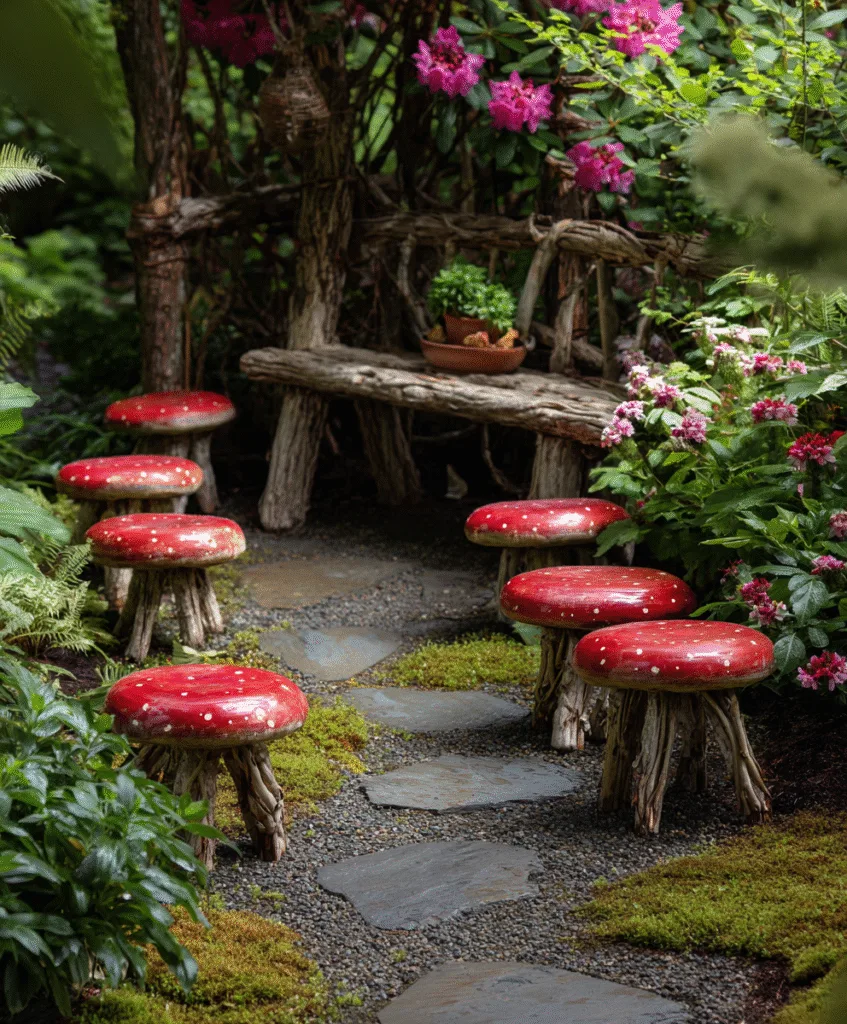
Every good fairy garden needs a cozy rest stop! I love using red clay to make little mushroom caps and sticking them on wine corks. Boom, instant fairy furniture.
Materials You Can Use:
- Wine corks, bottle caps, or pebbles as stool bases.
- Air-dry clay or painted wood slices for tops.
- Tiny twigs glued together can make rustic benches.
Bold tip: Cluster a few pieces to create a fairy tea party setup!
5. Arched Fairy Bridges
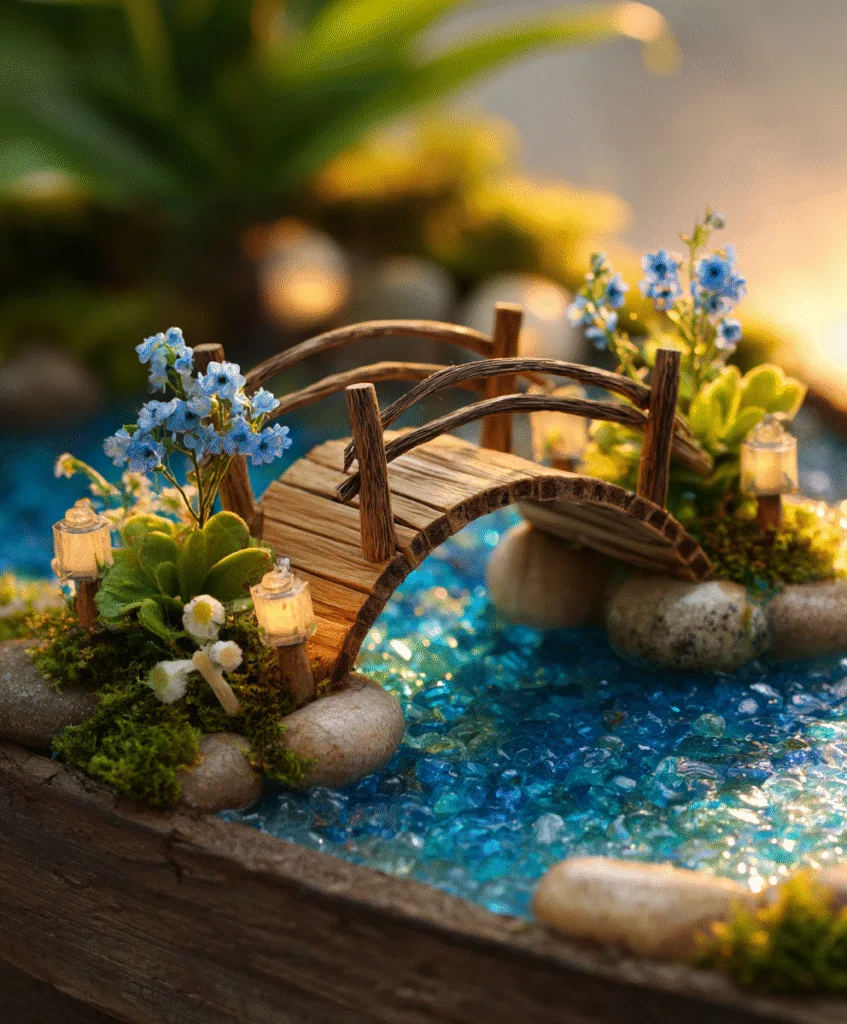
Whether it crosses a trickle of water or just some blue glass pebbles, a fairy bridge adds instant charm. I made mine from popsicle sticks and hot glue. Bonus, it took under 10 minutes.
Design Tips:
- Use craft sticks, twigs, or bendable wire for the frame.
- Create water underneath with blue glass beads or mirror tiles.
- Add moss on the edges to make it look aged and enchanted.
Bold tip: Place it at an angle for a more dynamic look.
6. Miniature Fairy Treehouses
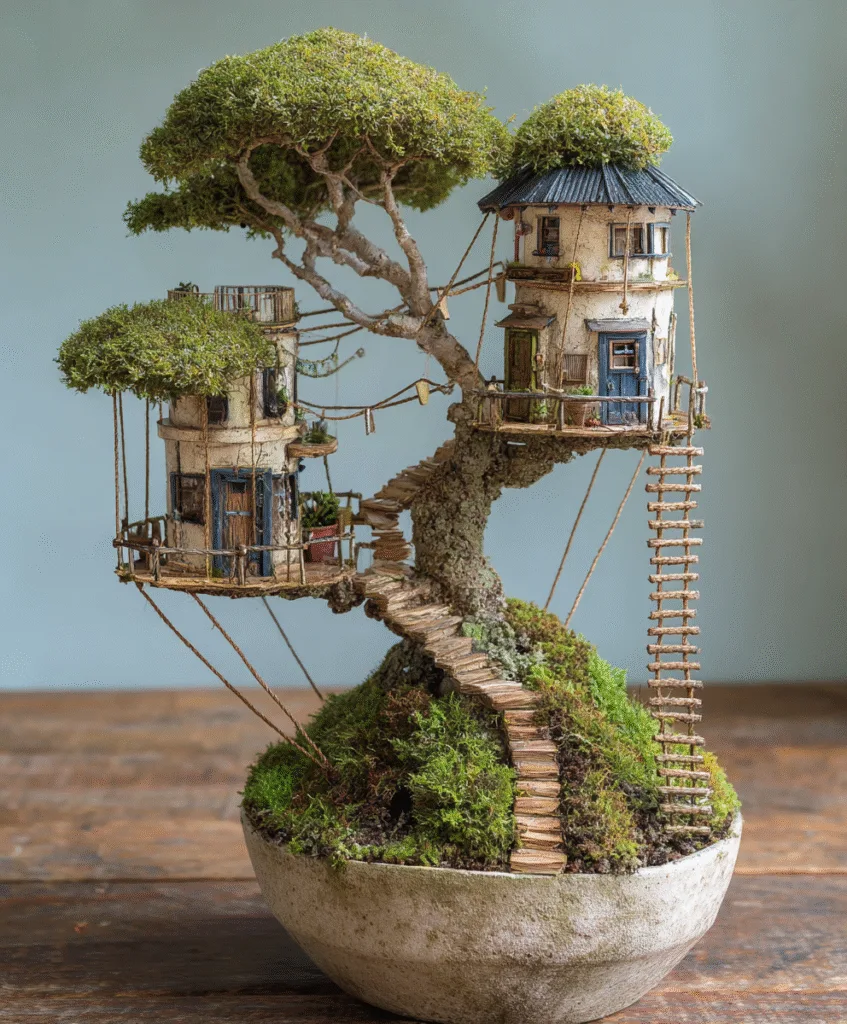
Have a sturdy bonsai or shrub? Build a little home in its branches! This was one of my favorite projects, turning my potted ficus into a multi-level fairy condo.
Design Ideas:
- Use bark, wood scraps, and buttons to make doors and windows.
- Add rope ladders or twisty stairs using string and sticks.
- Light it up with battery-operated fairy lights for nighttime magic.
Bold tip: Glue everything gently, damage to your plant = sad garden.
7. Teacup Fairy Gardens
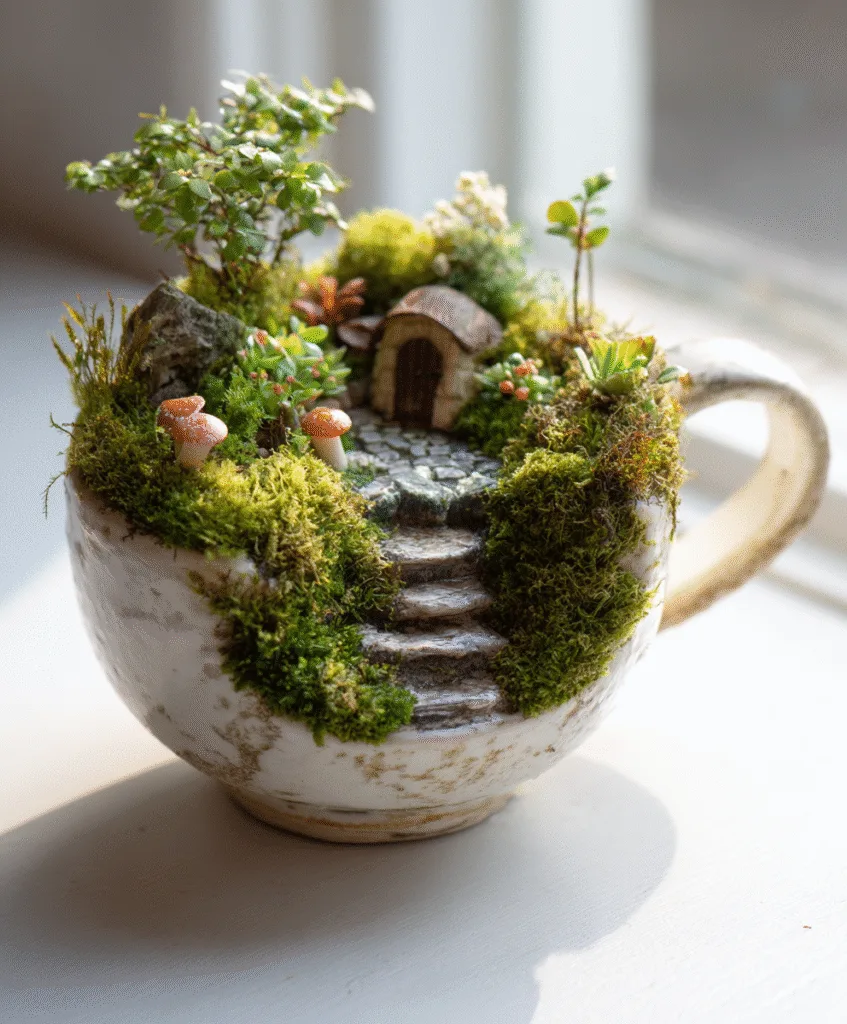
Short on space? Teacups are PERFECT for tiny scenes. I made one with moss, a little rock path, and a fairy lounging on a walnut shell, it now lives on my kitchen windowsill.
Why You’ll Love This:
- It’s portable and easy to update with the seasons.
- Perfect for gifting, wrap one in cellophane for a friend!
- Less mess but just as much magic.
Bold tip: Use strong glue if adding ceramic or glass pieces, they’ll shift with watering.
8. Glow-in-the-Dark Fairy Features
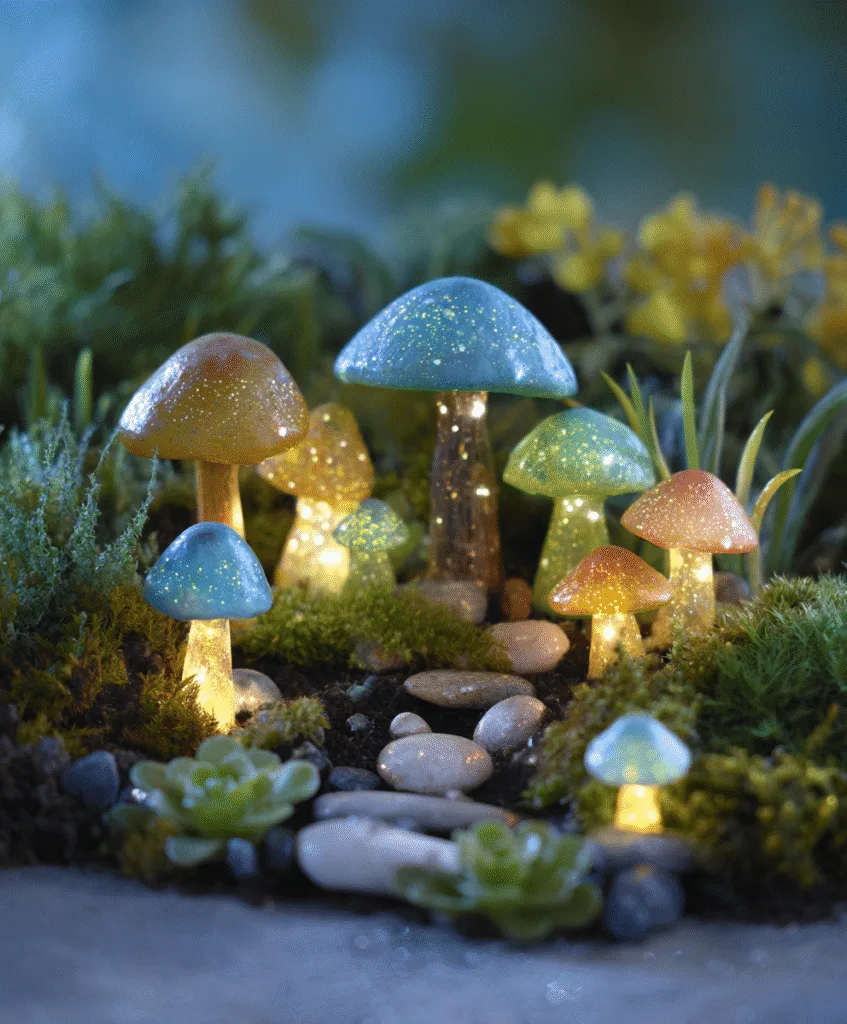
Want to make your garden sparkle after sundown? YES YOU DO. I used glow paint on my fairy door and mushrooms, and now my backyard looks like a scene from Avatar at night.
What to Glow:
- Painted pebbles, mushrooms, stepping stones, or even fences.
- Use glow-in-the-dark beads or solar garden lights.
- Fairy dust jars (tiny mason jars with glitter + glow paint = magic).
Bold tip: Charge under sunlight during the day for a better nighttime glow.
9. Shell & Sea Glass Fairy Pools
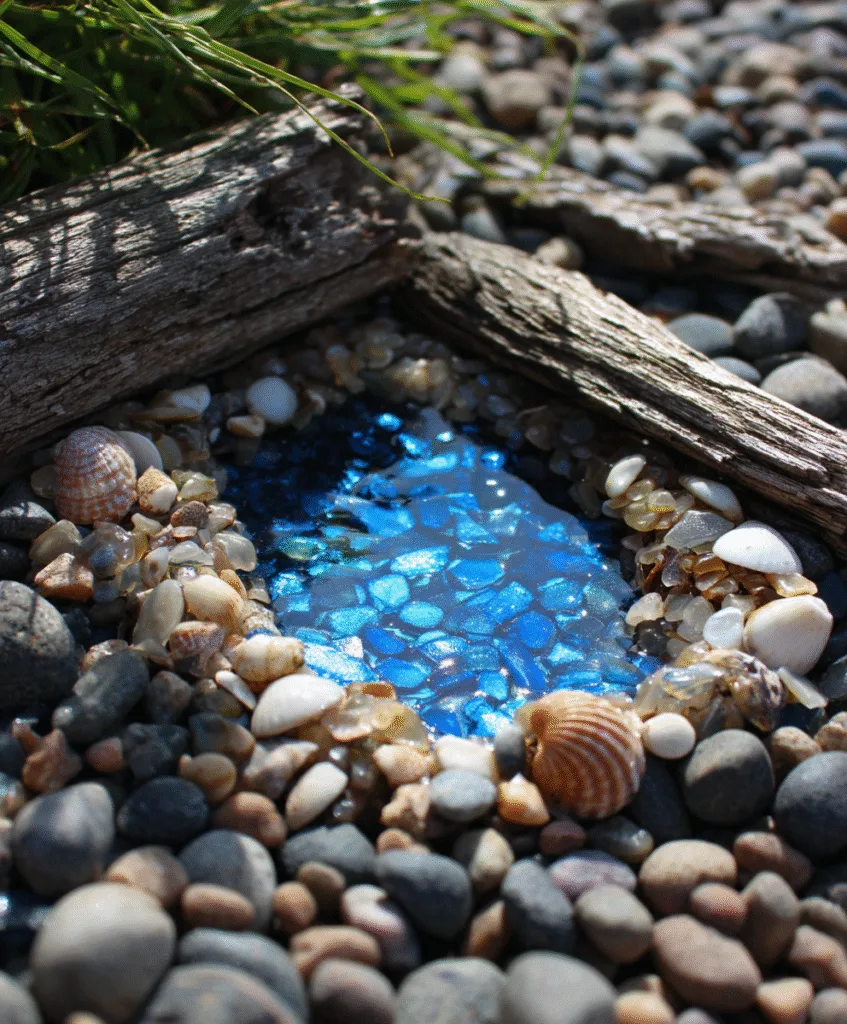
Fairies need somewhere to cool off, right? A tiny pond or pool adds movement and sparkle. I made one using a shallow saucer, some sea glass, and a touch of resin.
How to Craft It:
- Line a mini bowl or saucer with pebbles.
- Add blue glass beads or water-colored resin.
- Surround it with sand, shells, and driftwood for coastal vibes.
Bold tip: Add a tiny ladder or shell raft for whimsical realism.
10. Mini Fairy Market Stalls
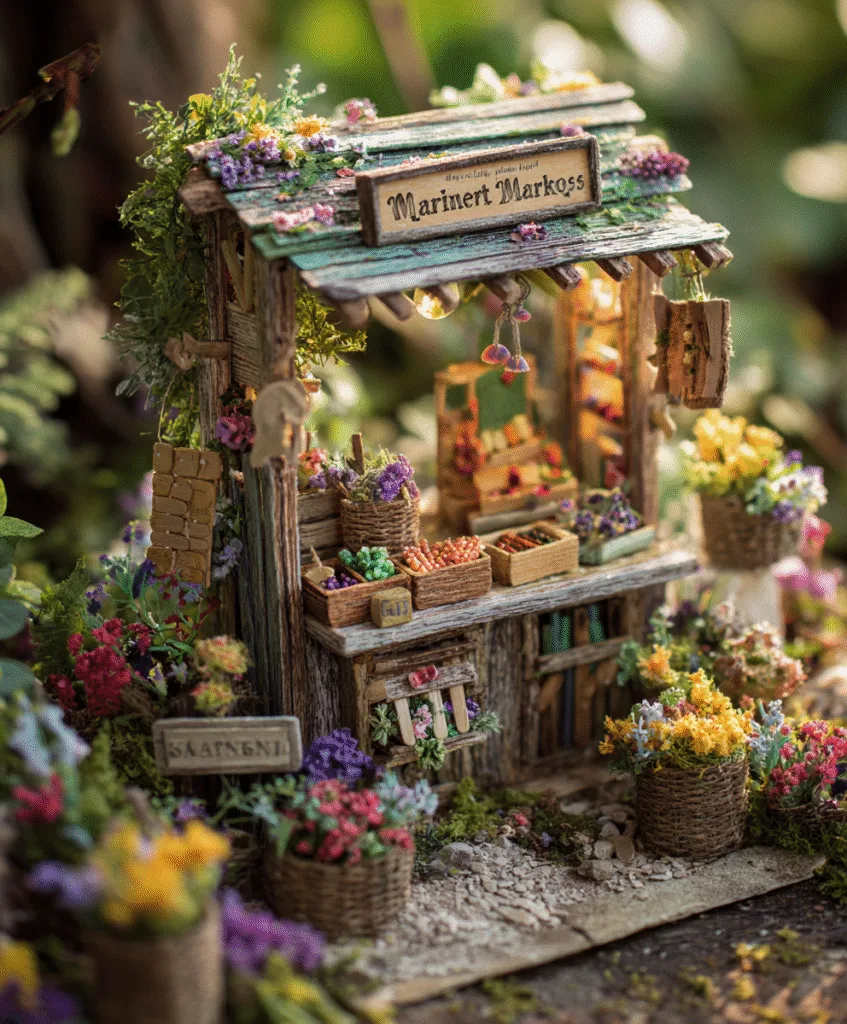
Okay, this one is next-level, but SO fun! I created a fairy market stall out of popsicle sticks and used dried herbs and beads as “produce.” It’s adorable and smells amazing.
Ideas for the Market:
- Mini “produce baskets” with lavender buds or peppercorns.
- Tiny chalkboard signs (I used black cardstock).
- Use acorns or spice jars as potion bottles.
Bold tip: This works GREAT for themed gardens, fairy apothecary, anyone?
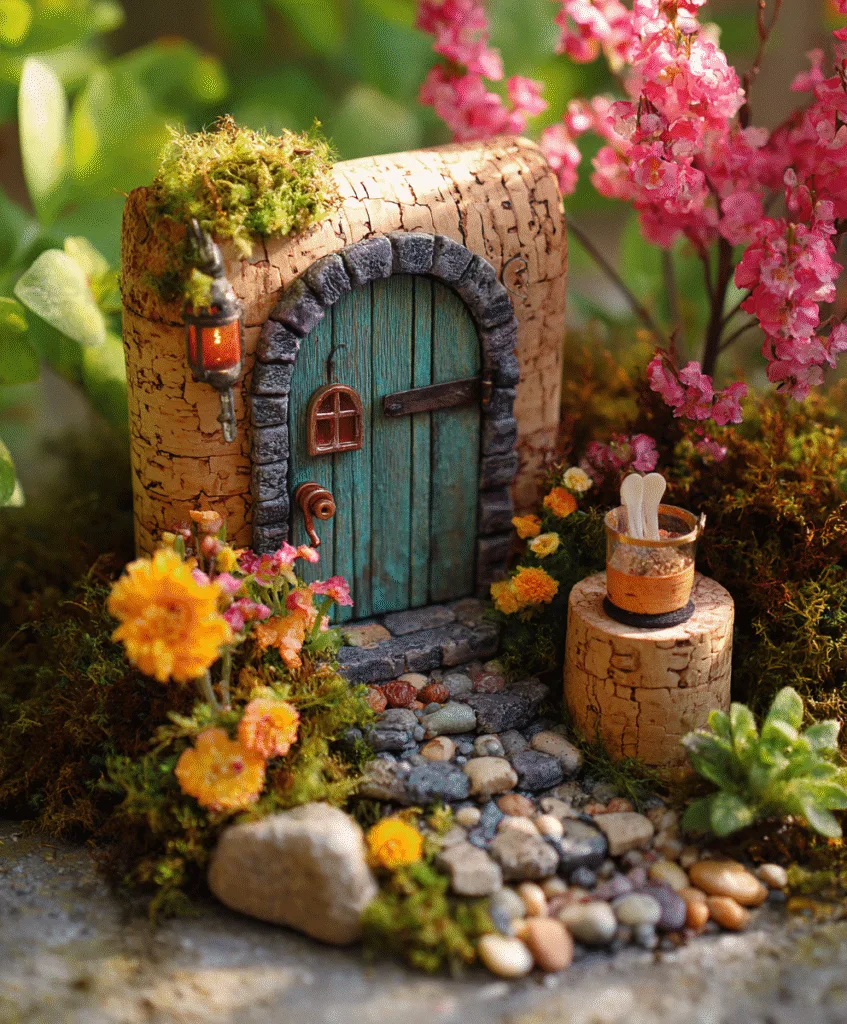
11. Mini Fairy Doors in Tree Trunks
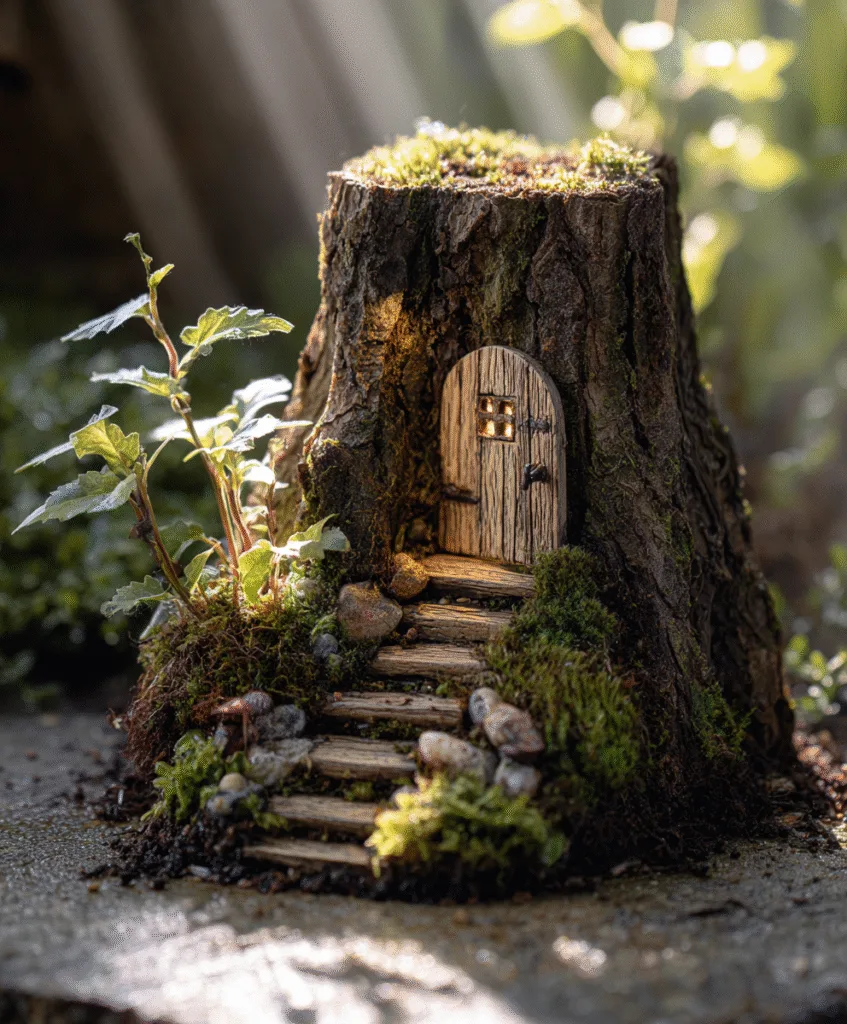
Okay, this is one of my FAVORITES. There’s something so nostalgic about stumbling on a tiny door in the base of a tree, like you just discovered a portal to another world.
Ideas to Try:
- Craft doors from twigs, bark, or polymer clay, and glue them to tree bases.
- Add pebble steps or a welcome mat, to make it more “lived-in.”
- Paint on little knobs or mail slots, for detail.
Bold tip: Use weatherproof glue so your door stays magical through rain and sun.
12. Fairy Clotheslines
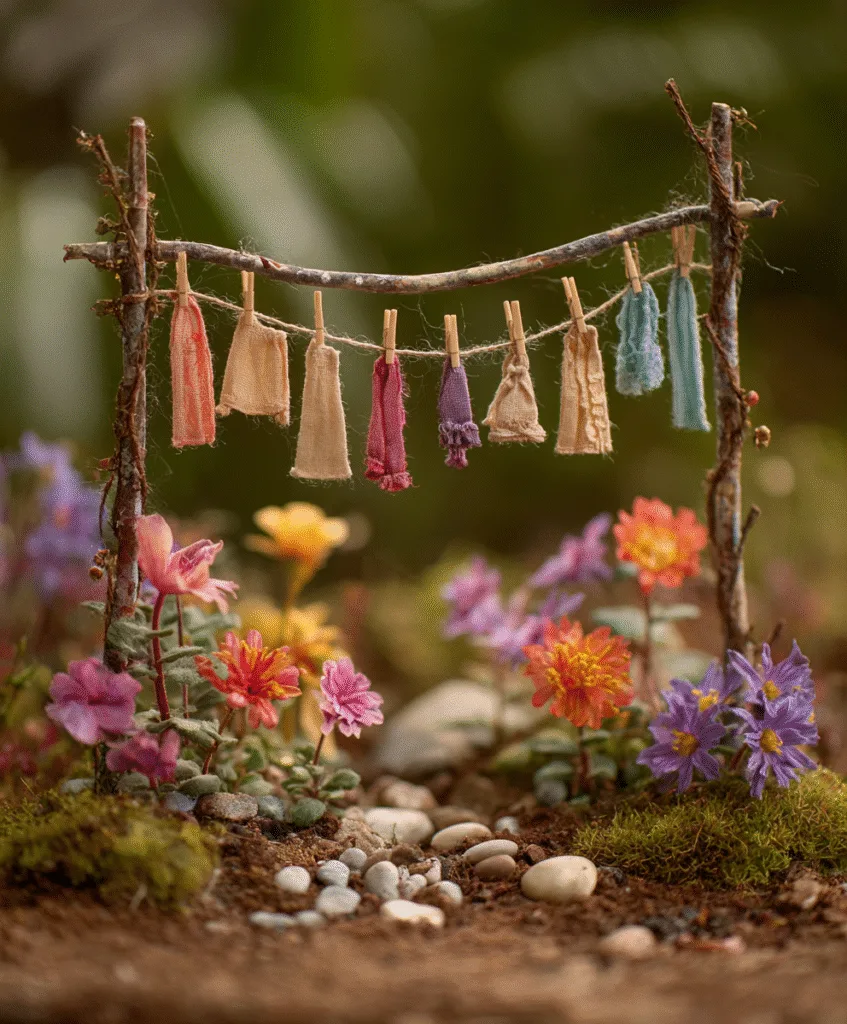
Yup, fairies do laundry too, or at least they hang up sparkly wings and leaf tunics. This idea is super simple but adds so much personality!
How to Make One:
- Tie string between two twigs or mini poles.
- Use fabric scraps, lace, or paper, for mini clothes.
- Mini clothespins or glue dots, hold them in place.
Bold tip: Add a bucket or “wash tub” using a bottle cap for extra cuteness.
13. Fairy Campfire & Picnic Spot
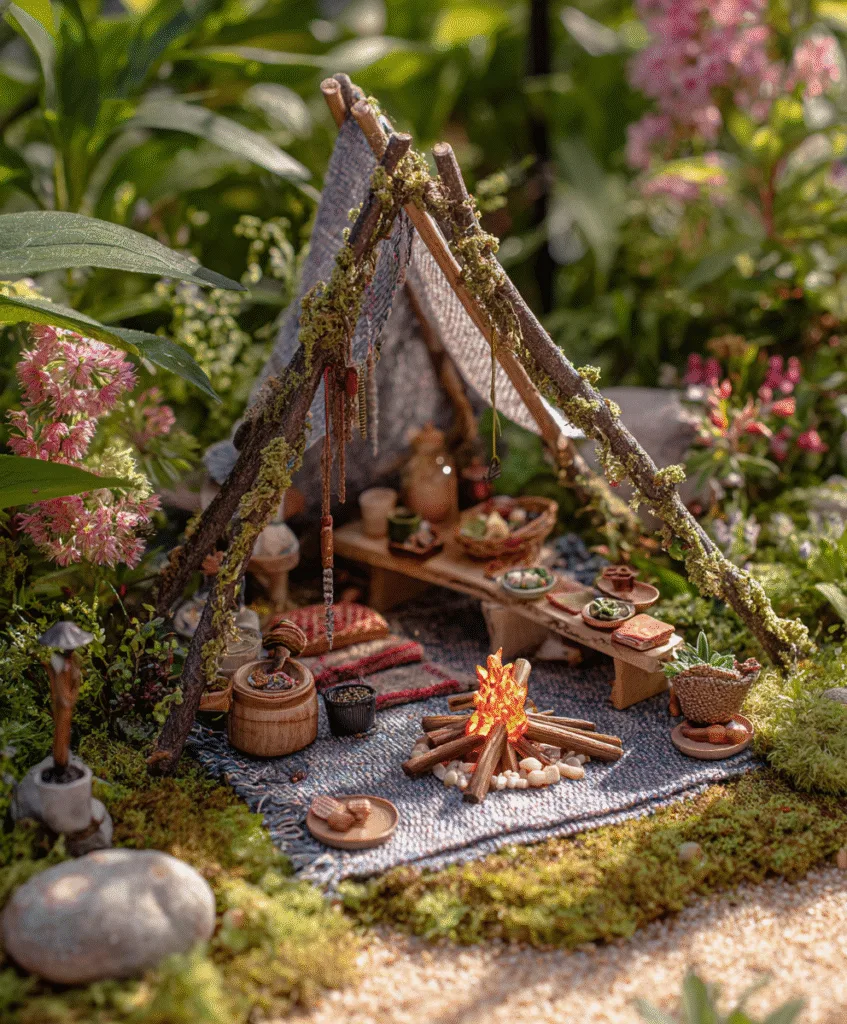
If your fairies are adventurous like mine, they’ll need a cozy spot for s’mores and stargazing.
What You’ll Need:
- Small twigs arranged in a fire ring, shape.
- Red/orange beads or painted pebbles, to mimic fire.
- Mini picnic blanket (scrap fabric) and some faux food or acorn cups.
Bold tip: Scatter tiny “roasted marshmallows” made from mini white pom-poms on sticks.
14. Fairy Bicycles & Travel Gear
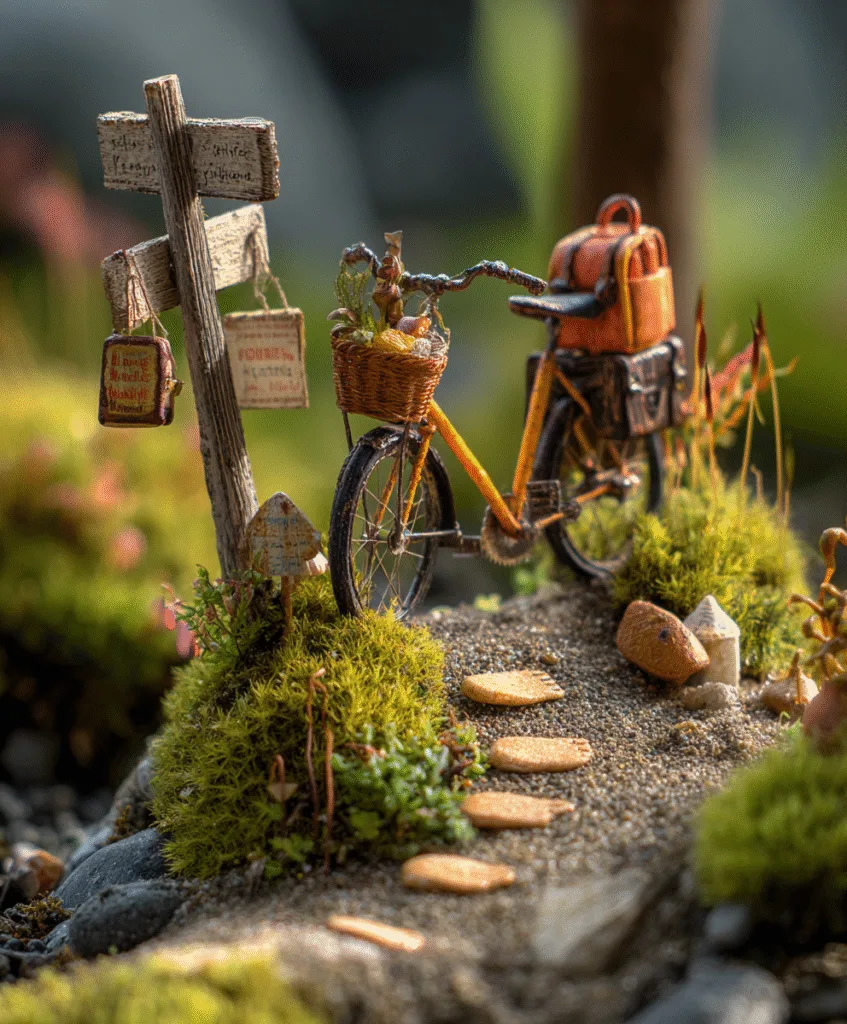
Tiny vehicles give your fairy scene a sense of movement and story, I mean, don’t they need a way to get to the market stall from earlier?
Cute Touches:
- Use wire to twist together a bike frame (Etsy also sells adorable minis).
- Add a “trail” of footprints or tiny tire marks, in the soil.
- Create a mini backpack, from felt or leather scraps.
Bold tip: Add a mini signpost pointing to different destinations, like “Moss Hollow” or “Daisy Town.”
15. Fairy Reading Nooks & Bookstacks
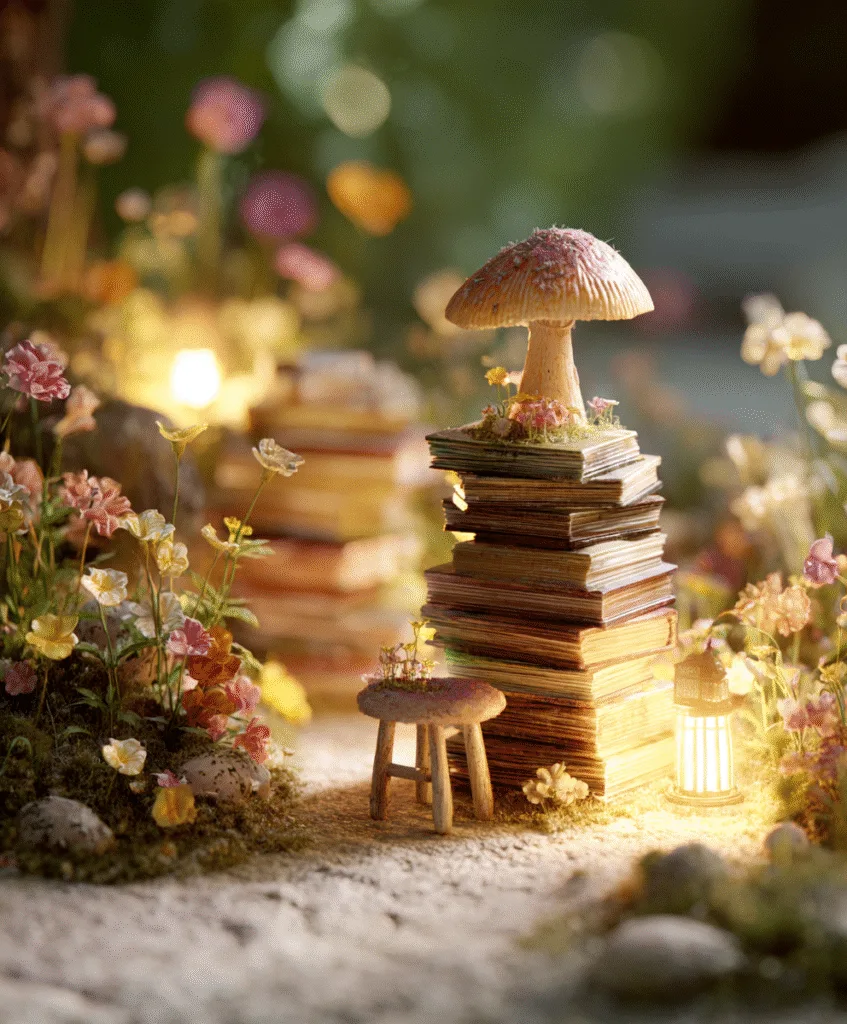
I love the idea of my fairies being little bookworms! This was such a charming addition to my shady garden corner.
Ideas:
- Make mini books with matchboxes or cardboard, wrapped in painted paper.
- Set them near a mushroom stool or twig bench.
- Add a “reading light” using a bead and wire or LED fairy light.
Bold tip: Label a few books with whimsical titles like “Spells & Sparkles” or “Acorns & Enchantments.”
16. Fairy Mailboxes
Who doesn’t love getting mail? A tiny mailbox adds charm, and makes a great interactive feature for kids, you can leave tiny notes from the fairies!
To Craft It:
- Use a thimble, cork, or mini matchbox, as the box.
- Add a flag using a pin and cardstock.
- Write real mini letters, from the “fairy post office.”
Bold tip: Stick it beside a fairy door or pathway to make it feel more official.
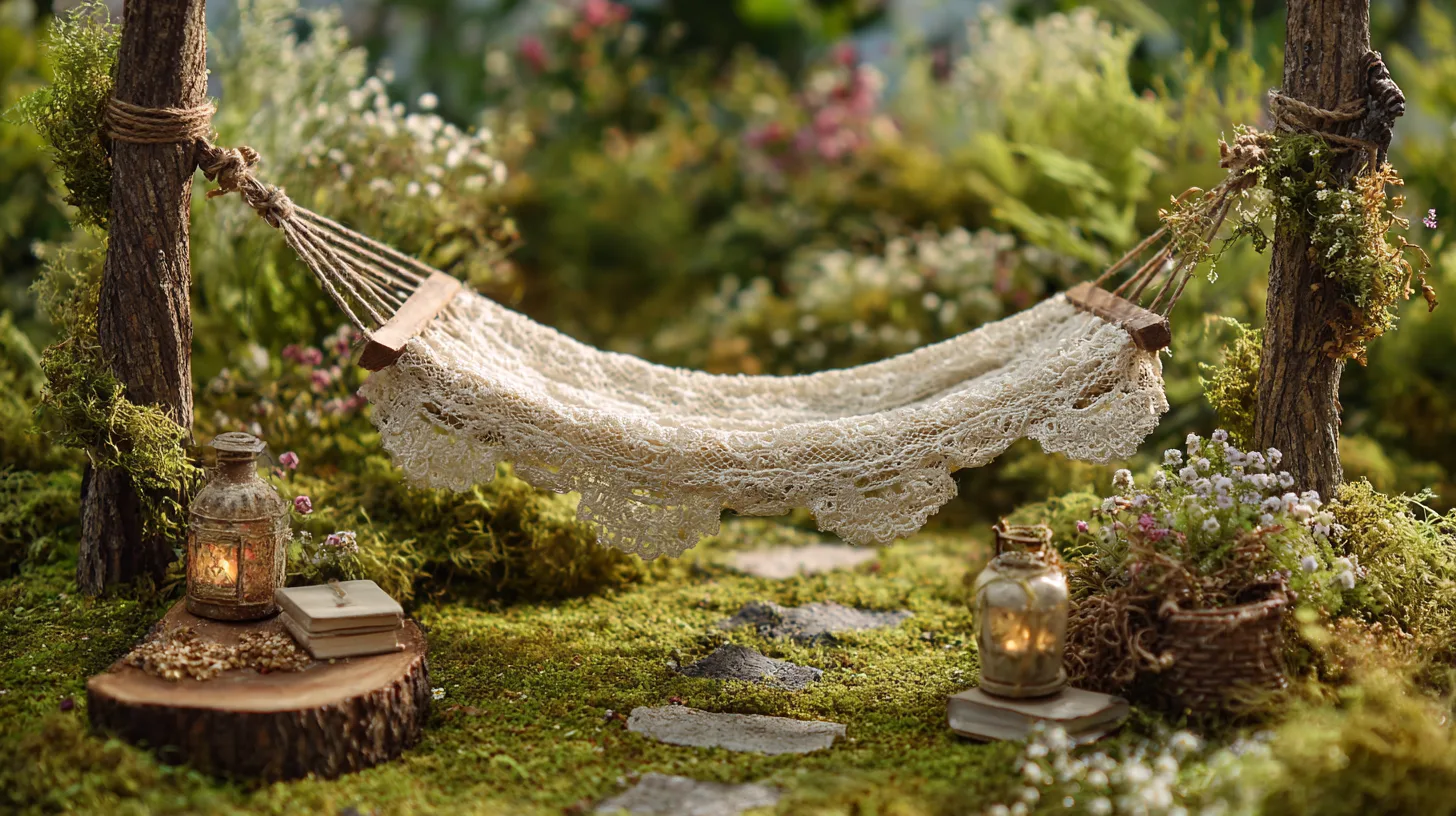
17. Hammocks & Lounging Spots
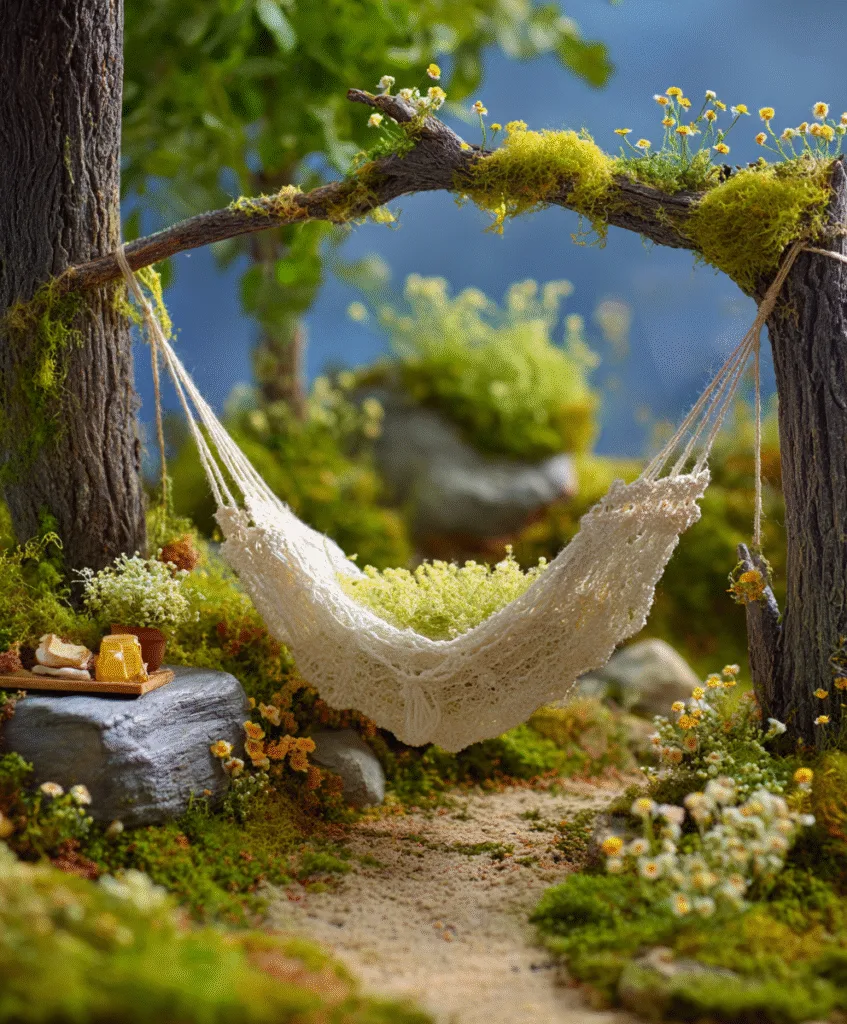
Every fairy needs a weekend chill zone. A tiny hammock strung between two twigs? YES PLEASE.
Set-Up Tips:
- Use lace, ribbon, or a strip of fabric, for the hammock.
- Tie it between two stick posts, secured into the soil.
- Add “sand” using fine gravel and a coconut shell as a cabana.
Bold tip: Drape some moss or flowers nearby for a lush, resort vibe.
18. Magical Potion Stations
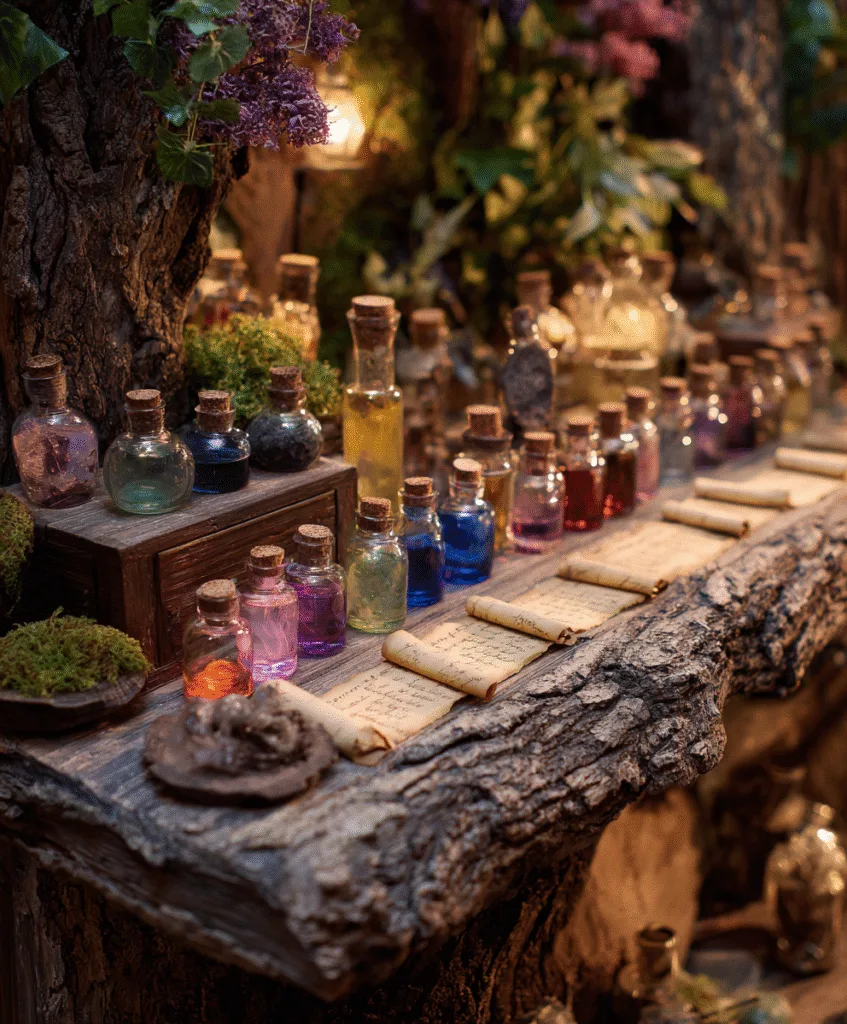
This is one of the most imaginative setups I’ve done. It started with a couple of empty spice jars, and suddenly I had a fairy alchemy station in my herb garden.
Supplies:
- Tiny jars or vials filled with glitter, beads, or colored water.
- Mini books or scrolls, to act as spell recipes.
- Flat stone “tables” or bark counters, for display.
Bold tip: Label potions like “Moon Dew” or “Petal Elixir” with tiny tags.
19. Fairy Vegetable Garden
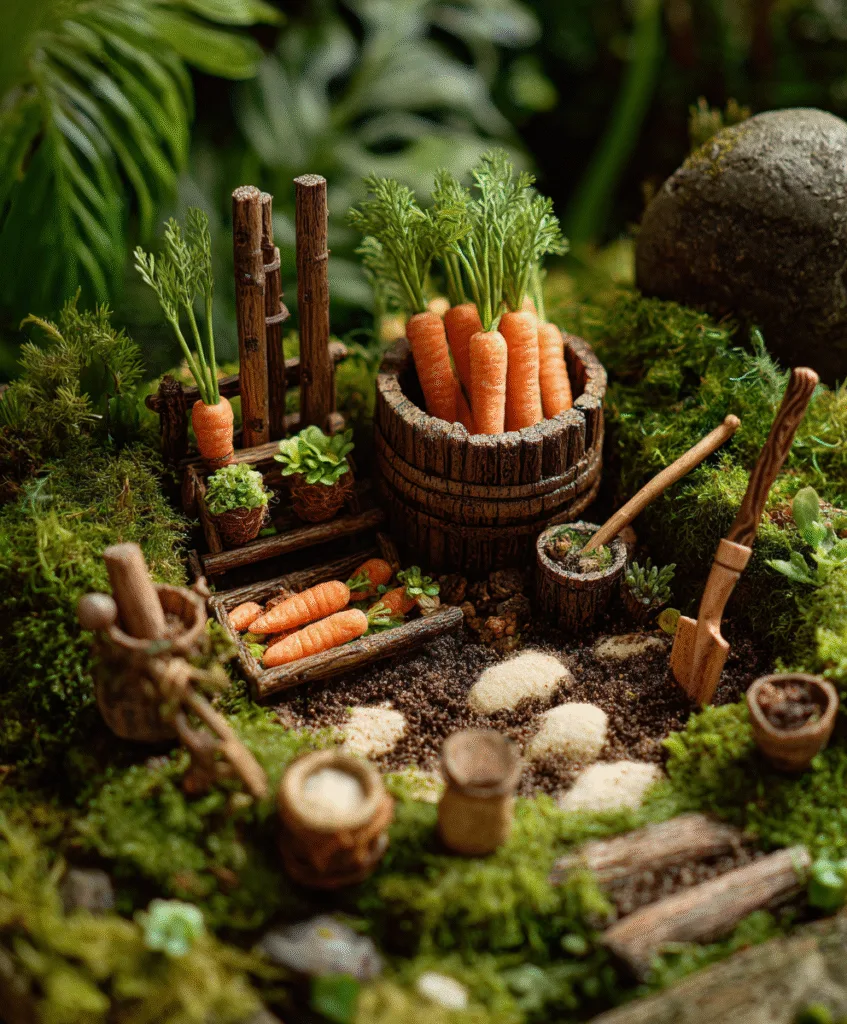
Why not give your fairies a garden of their own? It’s ridiculously fun to craft little veggie patches and even funnier to pretend they’re harvesting carrots the size of a pin.
What to Plant or Create:
- Miniature clay veggies, like carrots, lettuce, and pumpkins.
- Tiny wooden planter boxes, made from popsicle sticks.
- Add mini gardening tools, like spades or watering cans.
Bold tip: If you’re growing real plants, try baby radishes or microgreens.
20. Seasonal or Holiday Fairy Themes
Okay, this is for the fairy garden lifers, you know who you are. Swapping out your fairy garden decor for the holidays? It’s a vibe.
Ideas by Season:
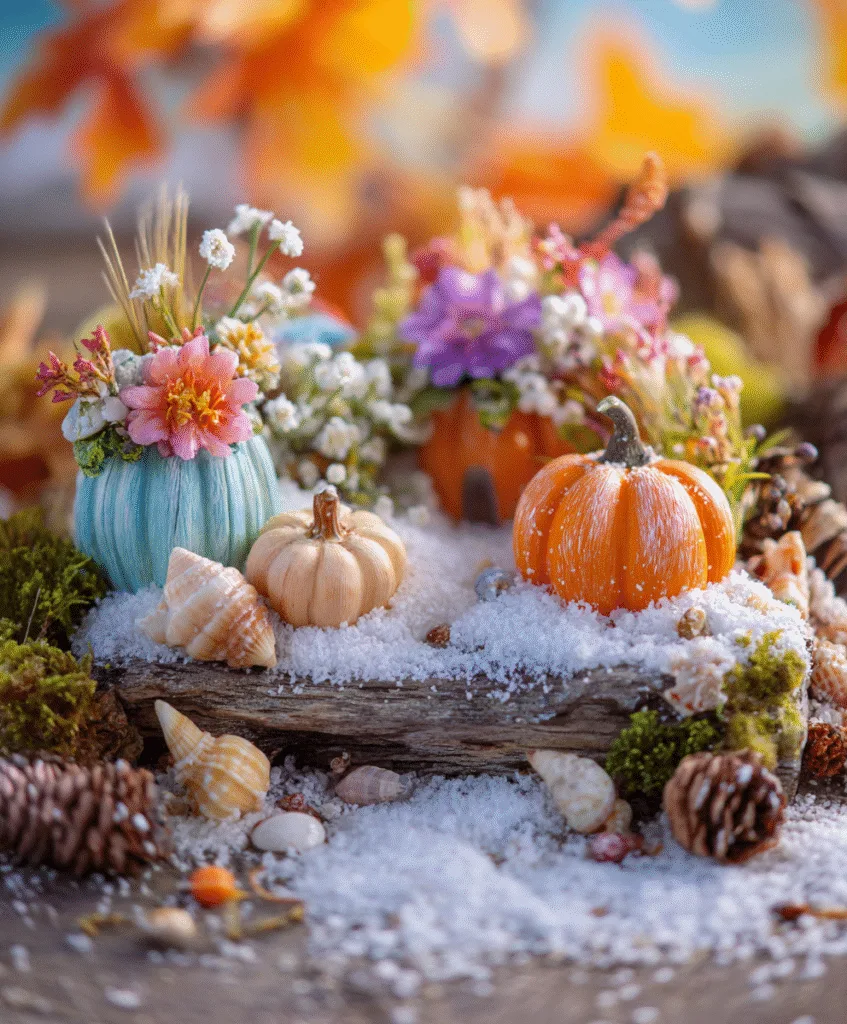
- Fall: Mini pumpkins, leaf piles, and warm-toned mushrooms.
- Winter: Tiny sleds, faux snow, and pinecone trees.
- Spring: Flower arches, pastel beads, and butterfly wings.
- Summer: Seashells, lemonade stands, and beach towels.
Bold tip: Keep a “fairy storage box” with seasonal props so it’s easy to swap things out.
Oops! Common Fairy Garden Mistakes to Avoid 🚫
I’ve made some cringey fairy garden flops over the years, here’s what NOT to do:
- Using non-weatherproof materials outdoors, cardboard and rain? Disaster.
- Overcrowding the space, leave breathing room between features.
- Forgetting scale, a giant bench next to a tiny door just looks off.
- Using live moss without shade or misting, it turns brown fast.
Bold tip: Sketch your layout before gluing or planting anything. It saves a ton of time and materials!
FAQs About Fairy Gardens
What plants are best for fairy gardens?
Look for small, slow-growing plants like moss, baby tears, thyme, or succulents. Bonus if they look like tiny trees!
Can I make a fairy garden indoors?
Absolutely! Use teacups, terrariums, bowls, or shallow planters, just keep them by a sunny window.
How do I attract real fairies? 😉
While there’s no scientific answer, leaving shiny objects, sweets, or bells might help. (At least, that’s what the legends say!)
Where can I find fairy garden accessories?
Try craft stores, Etsy, or even dollar stores. I’ve also made tons from stuff I already had, check your junk drawer!
How do I keep my outdoor fairy garden looking fresh?
Use weather-resistant items, mulch around plants, and refresh moss or accessories every season.
Sprinkle a Little Magic 🌙
Fairy gardens bring something enchanting to even the plainest patch of dirt. Whether you’re crafting a teacup escape or a full-blown fairy metropolis, the fun is in the creating. I promise, once you make one, your imagination won’t stop there.
Happy gardening, and don’t forget to wave goodnight to the fairies!