
Let me guess, you bought a shiny new label maker, got super excited, labeled two things, and now everything’s back to chaos. Been there. 😅
If your craft corner looks more like a glitter tornado hit it than a peaceful creative haven, you’re not alone. But don’t worry, I’ve got you.
Over the years, I’ve tested every labeling system under the sun. Some were brilliant. Some… not so much (looking at you, masking tape and sharpie combo).
But now, I’ve got a handful of hacks that actually work, they save time, look great, and make sure you never scream “WHERE ARE MY GLUE STICKS?!” again.
So grab your washi tape and coffee (or wine, no judgment), and let’s sort your craft chaos out.
1. Use Clear Bins + Bold Labels for Instant Visual Wins
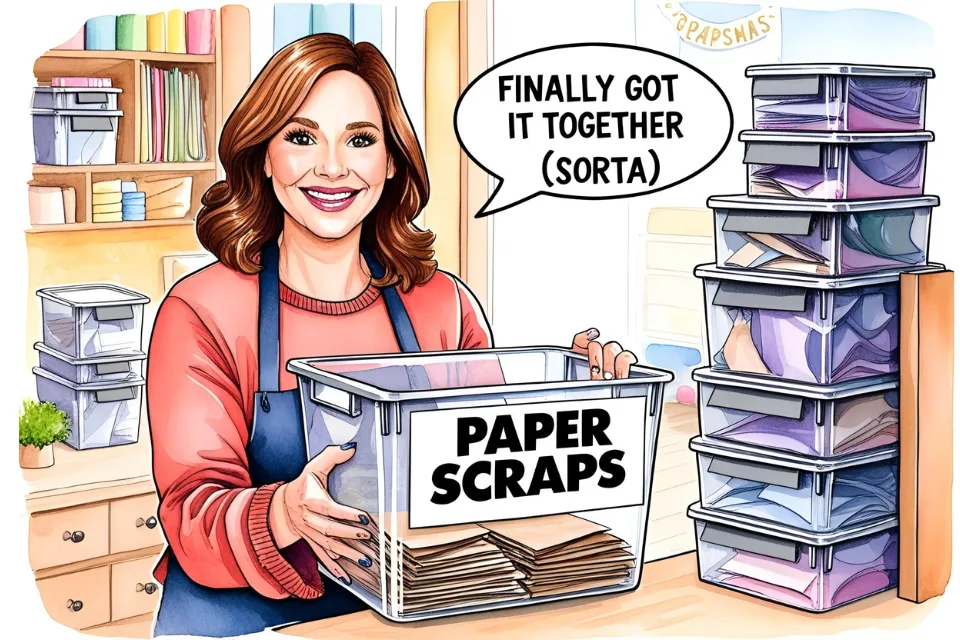
Let’s start with a basic rule of organizing: if you can’t see it, you won’t use it. Transparent bins are your new BFFs.
Why they work:
- You can see what’s inside without digging through every box.
- They’re great for grouping by category: paper scraps, paint, stamps, etc.
Labeling tip:
Stick a bold, high-contrast label right on the outside. None of that “tiny cursive font in pastel pink” nonsense. We’re going for function, not fancy.
Bonus hack: Use a label maker with black-on-clear tape for a sleek, minimal look. It’s basically the yoga pants of the labeling world, effortless and flattering.
2. Go Digital with QR Code Labels
Okay, this one’s for my fellow tech-loving crafters. Ever tried QR code labels? They’re a game-changer.
How it works:
- Use a free QR code generator (tons online).
- Link it to a Google Doc or photo gallery with the contents of your bin.
- Print the QR code and stick it on the bin.
Why it’s genius:
- You can pack more info than a regular label.
- It’s perfect for big collections, like beads in 18,000 shades of blue.
FYI: I use this for my seasonal decor stash too. One scan and I know which box has the creepy Halloween eyeballs.
3. Create a Color-Coded System (and Stick to It!)
Ah, color coding. It’s beautiful, functional, and gives you that weirdly satisfying “I’ve got my life together” feeling.
Here’s what I do:
- Red = sewing
- Blue = painting
- Green = kids’ crafts
- Yellow = party supplies
You get the idea.
Stick a colored label or dot sticker on every bin or drawer. Trust me, even on your worst, sleep-deprived day, you’ll still find the googly eyes.
Pro tip: Don’t go overboard. Four to five colors max, or you’ll forget what orange even stands for.
4. Use Chalkboard Labels for Flexibility
If commitment issues were a label, they’d be chalkboard labels. 😆
Why they rock:
- You can write and erase whenever you need.
- Perfect for bins that change purpose often.
I use these for my “miscellaneous” bins, the ones that basically hold everything I don’t know what to do with.
Heads up: Get chalk markers, not actual chalk. Unless you like smudges and sad labels. (Been there, learned the hard way.)
5. Label INSIDE Lids for a Clean Look
Not into the whole “labels everywhere” aesthetic? I feel you. Sometimes, you want your space to look clean, uncluttered, and Pinterest-worthy.
Try this:
- Put your label inside the lid or drawer.
- It keeps your space looking sleek while still keeping things organized.
When this works best:
- For open shelves or clear-front drawers.
- When you already kinda know what’s where but need a backup plan.
IMO, this is the sneaky little trick that makes your space look super put-together without screaming, “I own a label maker!”
6. Use Picture Labels for Kids’ (or Your) Supplies
Confession: I use picture labels on my kids’ bins… and on some of my bins too. No shame. 😄
Why they’re awesome:
- Great for visual learners.
- Help kids (and let’s be honest, adults) put things back where they belong.
Snap a quick pic of the contents, print it, and stick it on the front. Boom, instant recognition.
Pro tip: Laminate the photo if you’re using it in messy zones. Glitter is not label-friendly.
7. Hack Your Label Maker Settings Like a Pro
Label makers are amazing… when you know how to use them. Otherwise, you end up with teeny-tiny words and miles of wasted tape.
Do this instead:
- Adjust the font size and spacing. Go big or go home.
- Use symbols or emojis for extra clarity. (Scissors icon? Totally adorable.)
- Print in batches to save tape.
My fave setting: All-caps, medium size, centered. It looks clean and reads fast.
And if you don’t have a label maker yet? You’re missing out. Treat yourself.
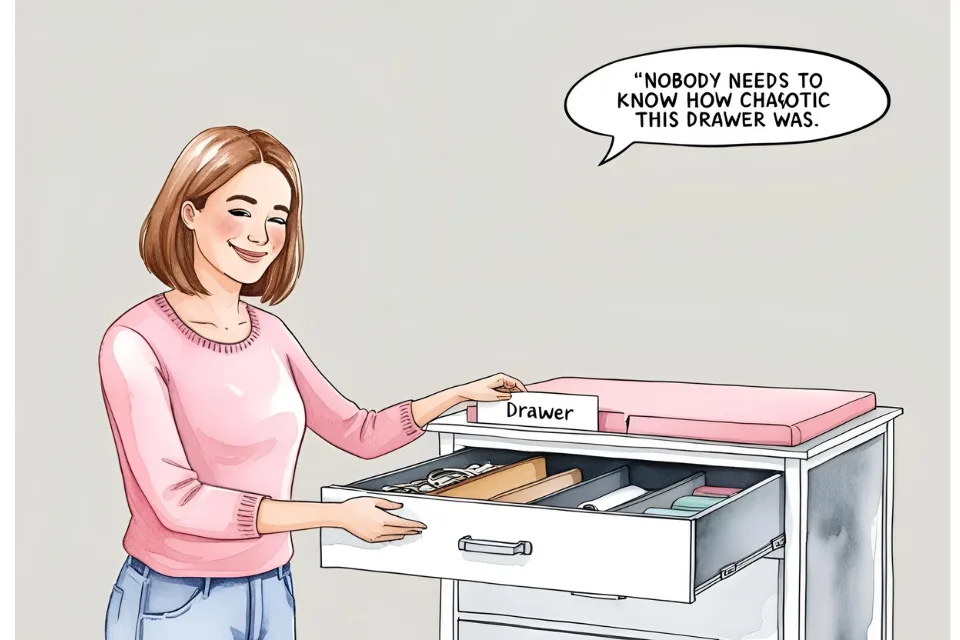
8. Label the Backs of Drawers and Bins for Inventory Days

I know what you’re thinking: “Why label the back if I can’t see it?” Because my friend, one day you’ll pull everything out, and you’ll wonder what went where.
This hack saves you when:
- You reorganize (for the 37th time).
- You move houses.
- Your kids/partner/helpful guest “helpfully” rearranges everything.
Stick a mini label on the inside or back of your containers. It’s like leaving breadcrumbs for your future self.
Trust me: You’ll thank Past You for this one.
Final Thoughts: Label Like a Legend
Labeling your craft supplies doesn’t have to be boring, ugly, or a total time suck. With a few clever hacks (and maybe a label maker that doesn’t hate you), you can create a system that actually works, and keeps working.
Remember:
- See-through + bold = visibility and ease
- QR codes and picture labels = next-level clarity
- Chalkboard + back-labels = flexible and future-proof
And don’t forget to have fun with it. Organizing is part of the creative process, too! 💪
So what are you waiting for? Go slap some genius labels on that chaos and turn your craft stash into a thing of beauty.
(And yes, wine totally counts as a crafting supply. 😉)